Blueair 311i Max Review: A Dad’s Take After a Month For Our Baby’s Room
Click here to check the current price of the Blueair 311i MAX
Short version: after running the Blueair Blue Pure 311i Max every single day for about a month, I’d buy it again. If you’re a parent looking for a quiet, no-ozone air purifier for a nursery (our bedroom is subterranean and have two nurseries) — or, like me, you’re fighting damp, mold-prone air in a basement — this one hits the marks that actually matter. It’s genuinely quiet, the app is one of the few I’ve ever been impressed by, and the HEPASilent filtration pulls 99.97% of particles down to 0.1 microns. The two honest catches: the genuine filter isn’t cheap (budget roughly $70–90 a year), and it’s really tuned for medium rooms, so a large open space needs a bigger model.
This is my full follow-up to the initial Blueair 311i Max unboxing — that post covers what’s in the box and first impressions, and this one is the “does it actually hold up” verdict after living with it.
Is the Blueair 311i Max Worth It?
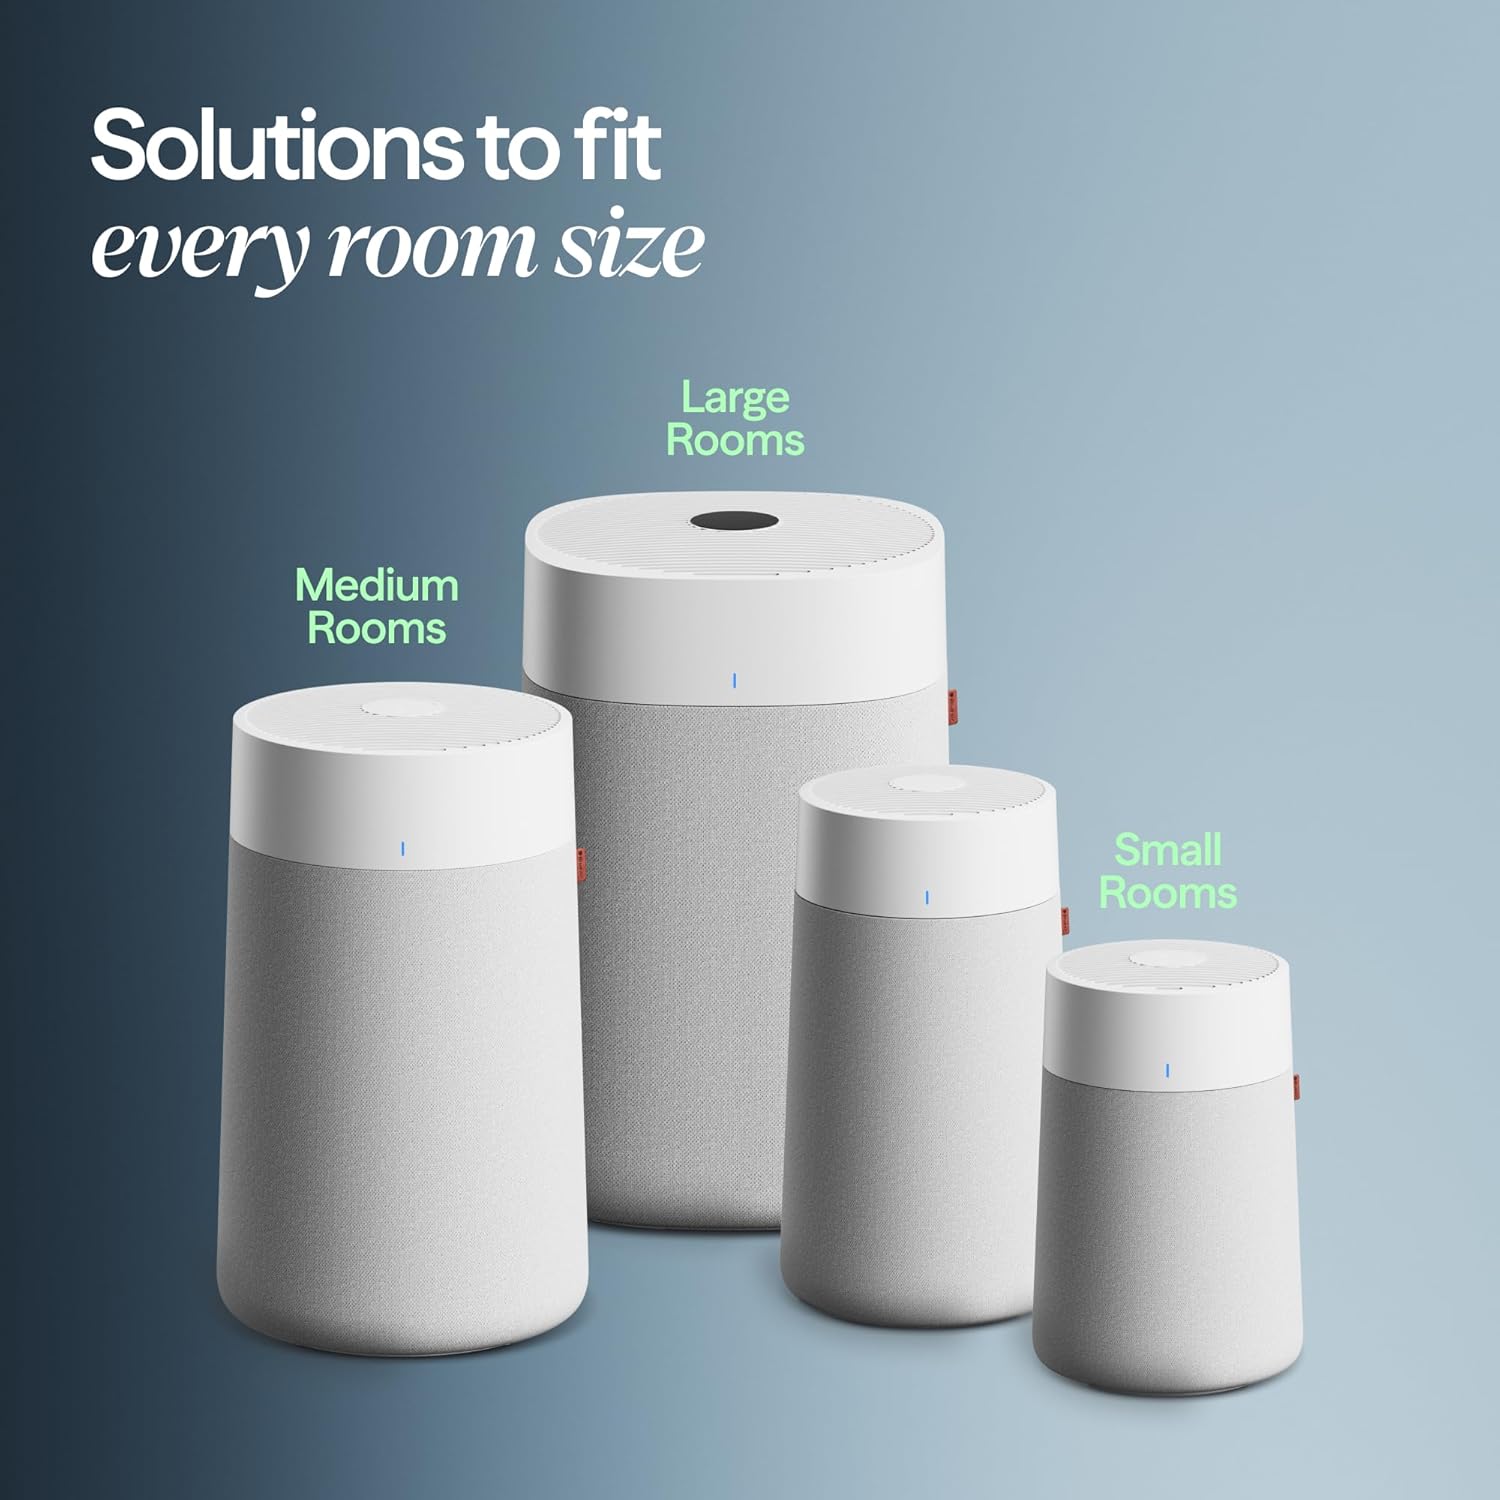
Yes — with two caveats. For a medium room (think nursery, bedroom, or a basement like ours around 600 sq ft), it’s an easy recommendation: quiet, well built, genuinely smart, and it visibly responds to the air in the room. Where you should think twice is (1) the ongoing filter cost and (2) room size. It’s happiest in smaller-to-medium spaces; for a big open floor plan you’d want to step up to the 211i Max. More on both below.
Blueair 311i Max Specs at a Glance
| Model | Blueair Blue Pure 311i Max |
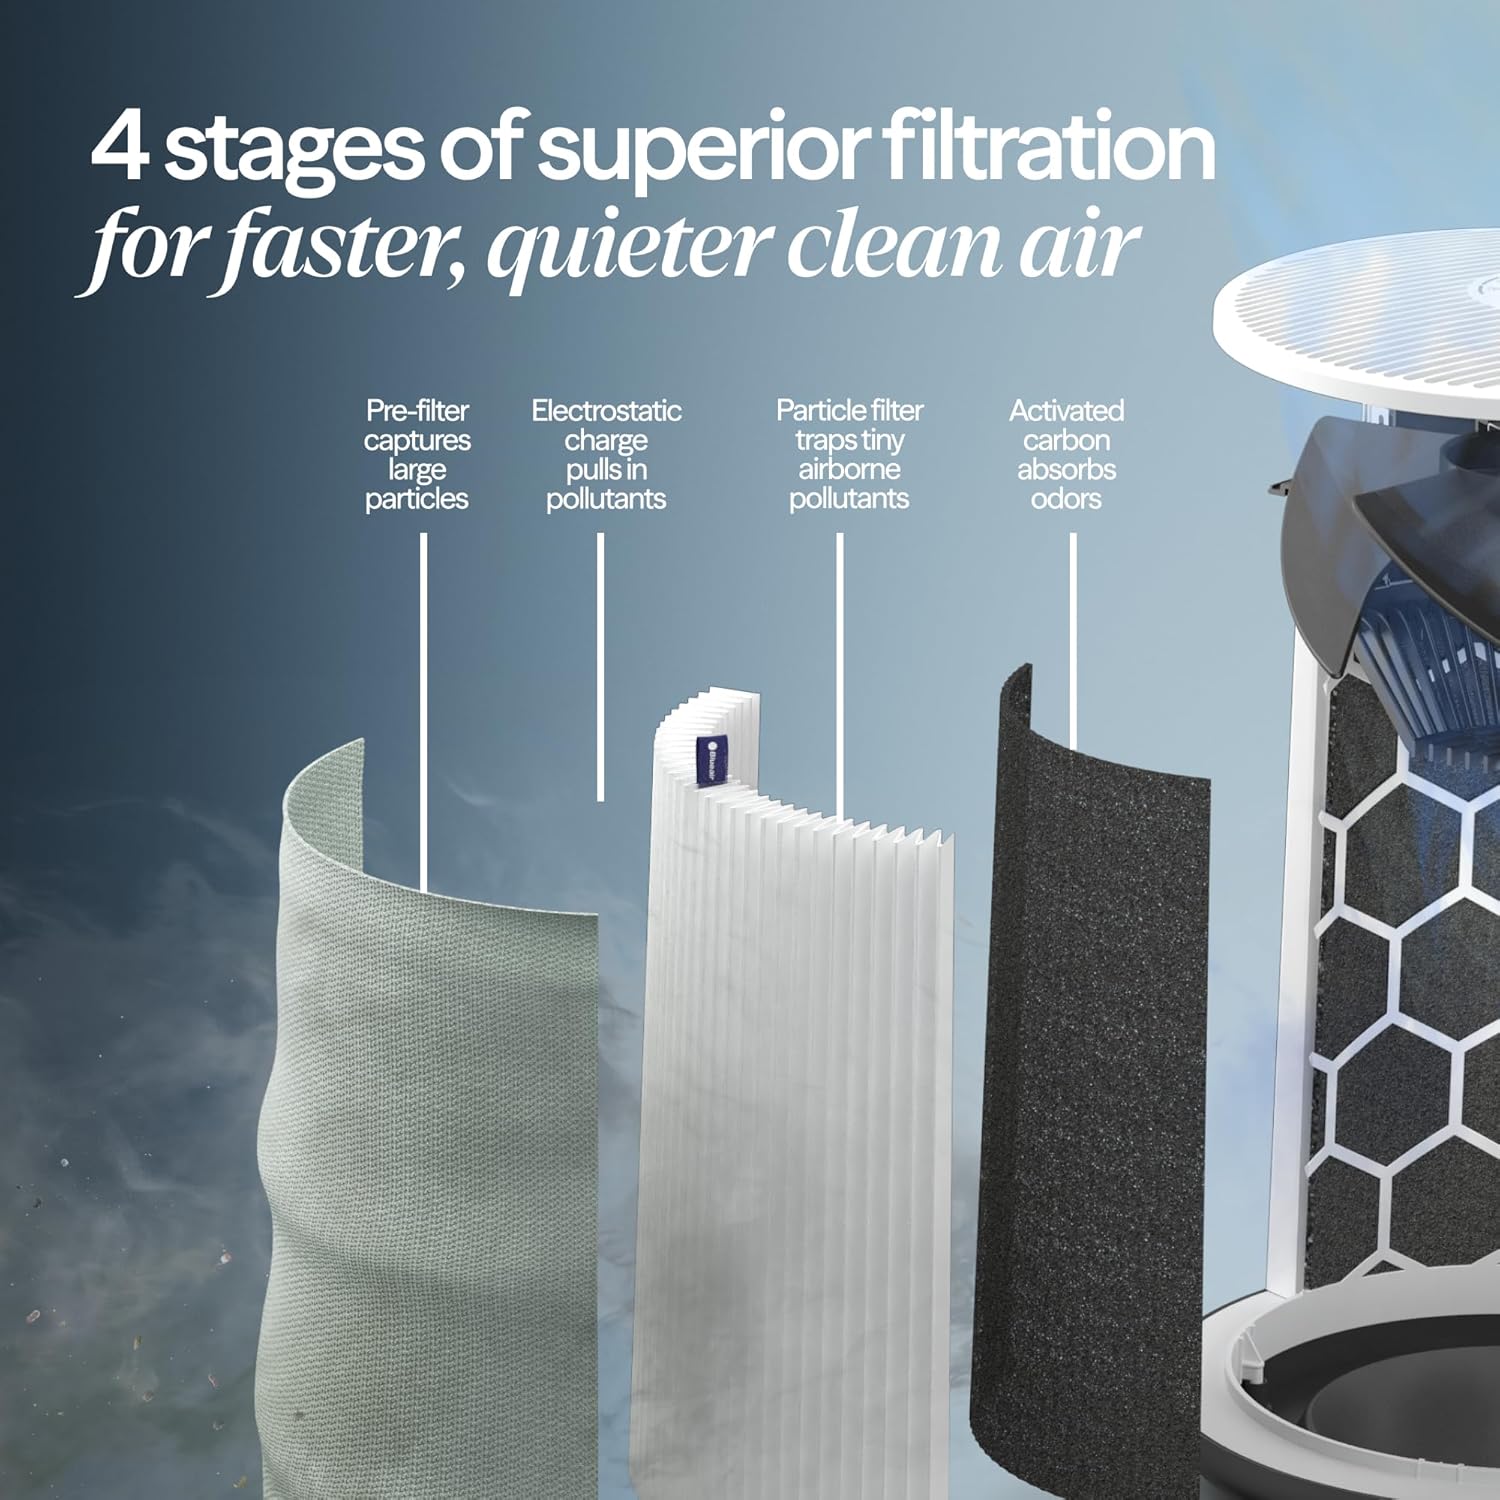
| Filtration | HEPASilent dual filtration (mechanical + electrostatic) — 99.97% of particles down to 0.1 microns, plus an activated carbon layer for odors & VOCs |
| CADR | 250 (smoke, dust, pollen) |
| Coverage | 387–929 sq ft depending on how many times you want the air turned over (≈387 sq ft at its most aggressive; roughly 3 air changes/hour in our ~600 sq ft basement) |
| Noise | ~23 dB on Night mode up to ~50 dB on high; QuietMark certified |
| Fan speeds | 4 total (Night + speeds 1/2/3) plus Auto mode |
| Smart features | Wi-Fi app, Auto mode, 5-color air-quality light, scheduling, child lock, Alexa voice control, Welcome Home, RealTrack filter tracking |
| Filter | Genuine F3MAX (particle + carbon), ~$50–70, lasts ~6–9 months with automatic tracking and a reminder |
| Safety | CARB certified (essentially zero ozone), AHAM Verifide for performance |
Pros and Cons After a Month
What I like:
- It’s genuinely quiet. On Night mode it’s around 23 dB — quieter than a whisper. I did the old receipt test and it moves a real amount of air while staying nearly silent.
- The app is excellent — which, if you’ve owned smart gadgets, you know is rare. I can manage the whole unit from my phone, see the filter life as a percentage, and it even shows air-quality readings in real time.
- Strong, credible filtration. HEPASilent dual filtration at 99.97% down to 0.1 microns, with a carbon layer that also handles odors.
- No ozone. It’s CARB certified, so it’s not pumping ozone into the room — a big deal if it’s going near a baby (see the nursery section).
- Set-and-forget Auto mode. I watched the air-quality light drop from green to blue and the fan quiet itself down as the air cleaned up. It reacts to the room without me touching it.
- Dead-simple filter access. Twist the top off and you’re looking right at the filter. The unit tracks filter life for you and tells you when it’s time.
- Right-sized and good looking. Roughly knee height, tapered, tucks into a corner. It’s out in a living space all day, so that matters.
What to keep in mind:
- Genuine filters aren’t cheap. ~$50–70 every 6–9 months, so budget roughly $70–90 a year. Still cheaper than fussing with whole-home HVAC filtration, but it’s a real recurring cost.
- Room-size ceiling. It’s tuned for medium spaces. In our 600 sq ft basement it’s turning the air over about 3 times an hour — fine, but not aggressive. For a large open room, get the 211i Max instead.
- One tiny status light stays on even in Night mode. Minor, but if your room needs to be pitch black, a small piece of tape solves it.
- Wi-Fi setup is 2.4 GHz only. If you’re on a combined dual-band network name, you may need to point your phone at the 2.4 GHz band during pairing.
Is the Blueair 311i Max Good for a Nursery?
This is the whole reason I bought it — I’m doing this for my kid — so let me be straight about where it fits and where I’d temper expectations.
Where it’s a great nursery pick:
- Quiet enough for sleep. Night mode runs around 23 dB and fully dims the lights, so it won’t glow up a dark room or wake a light sleeper. It’s QuietMark certified for a reason.
- No ozone. Some purifiers (especially ionizers) can emit ozone, which is a respiratory irritant you really don’t want around an infant. This one is CARB certified with essentially none — that alone put it ahead of a few models I looked at.
- A nursery is small, so it works even harder. The coverage numbers are rated for medium rooms; drop it in a typical 120–200 sq ft nursery and it’s turning the air over far more often than it does in my basement.
- It catches the stuff that floats around a baby’s room — dust, pollen, pet dander, smoke, and airborne mold spores.
- Child lock and app monitoring. You can lock the buttons so a curious toddler can’t mess with settings, and check the air from your phone without opening the door.
Placement tips for a nursery: keep it at least a few inches off the wall so air can circulate, not right up against the crib, and route the cord well out of reach. And the honest caveat: an air purifier cleans airborne particles — it’s not a medical device and it’s no substitute for safe-sleep practices or your pediatrician’s advice. Think of it as one helpful layer, not a cure-all.
Will It Help With Mold in a Basement?
Partly — and this is worth understanding before you buy one expecting it to fix a damp basement. The 311i Max captures airborne mold spores, which is genuinely useful. What it does not do is remove moisture, and mold grows because of humidity. So in a damp basement like ours, the purifier is one half of the equation; pair it with a dehumidifier to actually control the conditions that let mold grow in the first place. Running both together is the real fix.
How Loud Is the Blueair 311i Max?
Very quiet where it counts. On the lower speeds and Night mode it’s around 23 dB — you have to get close to hear it. It only climbs toward ~50 dB when it ramps up to high (usually on Auto, when it’s detected a spike in particles). For a bedroom or nursery you’ll almost never notice it.
The Blueair App: Actually Worth Using
I usually ignore companion apps, but this one earns its spot. Here’s what it gives you:
- Filter life as a percentage (via Blueair’s RealTrack algorithm), so you’re not guessing or replacing early.
- Real-time air quality and a “Clean Air ETA” that estimates how many minutes until the room is clean.
- Scheduling — mine drops into a quieter mode in the evening automatically.
- Child lock, Alexa voice control, and Welcome Home (puts it on standby when you leave, wakes it as you get home).
Quick setup note: it needs a 2.4 GHz Wi-Fi network, Bluetooth on for the first pairing, and your phone within a few feet of the unit to connect.
What Do the Light Colors Mean on the Blueair 311i Max?
The front light is a 5-color air-quality readout based on the PM2.5 sensor:
- Blue — excellent
- Green — good
- Yellow — moderate
- Orange — polluted
- Red — very polluted
In the video you can watch mine go from green to blue as the air cleans up and the fan quiets down — that’s exactly how it’s meant to work. (Heads up: a steady red can also mean it’s time for a new filter, not just bad air.)
How Do You Change the Blueair 311i Max Filter?
It’s about a two-minute job:
- Turn the unit off and unplug it.
- Push the top cylinder down slightly while rotating it counterclockwise to unlock, then lift it off.
- Open the pre-filter panel and remove the washable pre-filter.
- Lift out the filter shelf ring, then grip the handles on the main filter and pull straight up.
- Drop in the new genuine F3MAX filter with the handles facing up, press the shelf ring back into place, and reassemble the top.
- Plug it back in and reset the filter indicator (next section).
Tip: give the inside a quick vacuum while it’s open, and wash the pre-filter on a gentle cycle now and then to extend the main filter’s life.
How Do You Reset the Filter Light on the Blueair 311i Max?
After you install a new filter, you have to reset the reminder manually or it’ll keep nagging you:
- With the unit on, press and hold the Fan Speed button for about 15 seconds — until all the interface LEDs light up (for the second time) and blink once.
- Release the button.
- If it worked, the red filter-replacement indicator blinks three times and disappears.
Bonus tips: to adjust brightness, press the Fan Speed and On/Standby buttons together and hold for three seconds. To do a factory reset, hold On/Standby for about 30 seconds.
Want to grab one? You can check the current price here:
Frequently Asked Questions
Is the Blueair 311i Max worth it?
For a nursery, bedroom, or medium room up to roughly 400–600 sq ft, yes. It’s quiet, the filtration is strong, the app is excellent, and it emits essentially no ozone. Just factor in ~$70–90/year for genuine replacement filters, and pick a bigger model if you’re treating a large open space.
Is the Blueair 311i Max good for a baby’s room?
It’s a strong nursery choice: Night mode is around 23 dB with fully dimmed lights, it’s CARB certified so it doesn’t produce ozone, and a small nursery lets it turn the air over frequently. Keep it away from the crib and out of reach, and remember it’s a complement to — not a replacement for — safe sleep and pediatric advice.
Does the Blueair 311i Max produce ozone?
No. It’s CARB certified for ozone safety with essentially zero emissions, which is one of the reasons it’s a sensible pick for a room with a baby in it.
How often do you change the Blueair 311i Max filter?
Every 6–9 months, depending on use and air quality. The RealTrack algorithm tracks actual filter life and alerts you in the app and with the light on the unit, so you’re not guessing.
How much are Blueair 311i Max replacement filters?
The genuine F3MAX filter runs about $50–70. Replacing it every 6–9 months works out to roughly $70–90 a year.
How do you reset the filter light on the Blueair 311i Max?
Press and hold the Fan Speed button for about 15 seconds until all the interface LEDs light up and blink once, then release. The red filter indicator will blink three times and turn off.
Is the Blueair 311i Max quiet enough for a bedroom?
Yes. On Night mode it’s about 23 dB and dims its lights, so it won’t disturb sleep. It only gets louder (up to ~50 dB) when it ramps up on high.
What size room does the Blueair 311i Max cover?
Blueair rates it for 387–929 sq ft depending on how aggressively you want the air cleaned. It’s at its best in small-to-medium rooms; for a large open space, step up to the 211i Max.
Does the Blueair 311i Max remove mold?
It captures airborne mold spores, but it doesn’t remove moisture — and humidity is what causes mold. In a damp basement, run it alongside a dehumidifier for the real fix.
how to sterilize baby bottles
See the Baby Brezza One Step Sterilizer and Dryer
To sterilize a baby bottle, always clean it first: take it apart and wash every piece in hot, soapy water, then kill the remaining germs using one CDC-approved method. Your options are an electric steam sterilizer, 5 minutes of boiling, a microwave steam bag, your dishwasher’s sanitize cycle, or a cold-water bleach soak. Let everything air-dry completely before you put it back together. Below I’ll walk through all five methods, show you the exact one we use every day, and clear up the big question new parents always ask: do you really have to sterilize every single time? (Usually not.)
Sterilizing vs. sanitizing vs. cleaning: what’s the difference?
These words get thrown around like they mean the same thing, and it tripped me up as a first-time dad, so let’s clear it up fast:
- Cleaning is the everyday step: soap and hot water (or the dishwasher) to remove milk residue and most germs. You do this after every feeding.
- Sanitizing is the extra germ-killing step on top of cleaning, using heat (boiling, steam, or a dishwasher sanitize cycle) or a diluted bleach solution. This is what the CDC recommends for extra protection.
- Sterilizing is the word most parents (and product boxes) use for that same extra step. Technically, true sterilization is a higher medical bar, but for home bottle care, “sterilize” and “sanitize” are used interchangeably.
Bottom line: whatever you call it, you clean first, then sterilize. Sterilizing a bottle that still has milk film in it doesn’t work, because the germs hide under the residue.
Do you need to sterilize baby bottles after every use?
Short answer: no, not for most babies. This is the biggest myth new parents get stressed about. Here’s what the CDC actually says:
- Sterilize before the very first use. Brand-new bottles get sterilized once before they ever touch formula or milk.
- After that, clean after every feeding and sanitize at least once a day. Daily sterilizing is especially important if your baby is under 2 months old, was born premature, or has a weakened immune system.
- For older, healthy babies with access to clean, safe water, the CDC says daily sterilizing may not be necessary as long as bottles are cleaned carefully after each use.
So if you have a healthy 8-month-old and clean water, you don’t have to run the sterilizer around the clock. When our daughter was a newborn, we sterilized daily for peace of mind; as she got older we eased off. Talk to your pediatrician about what’s right for your baby.
See the Baby Brezza One Step Sterilizer and Dryer
How to sterilize baby bottles: 5 methods (from easiest to old-school)
Every method below is CDC-approved. The first one is what we reach for every day because it’s genuinely hands-off, but I’ll be honest about the trade-offs on each so you can pick what fits your kitchen and budget.
1. Electric steam sterilizer (the easiest, and what we use)
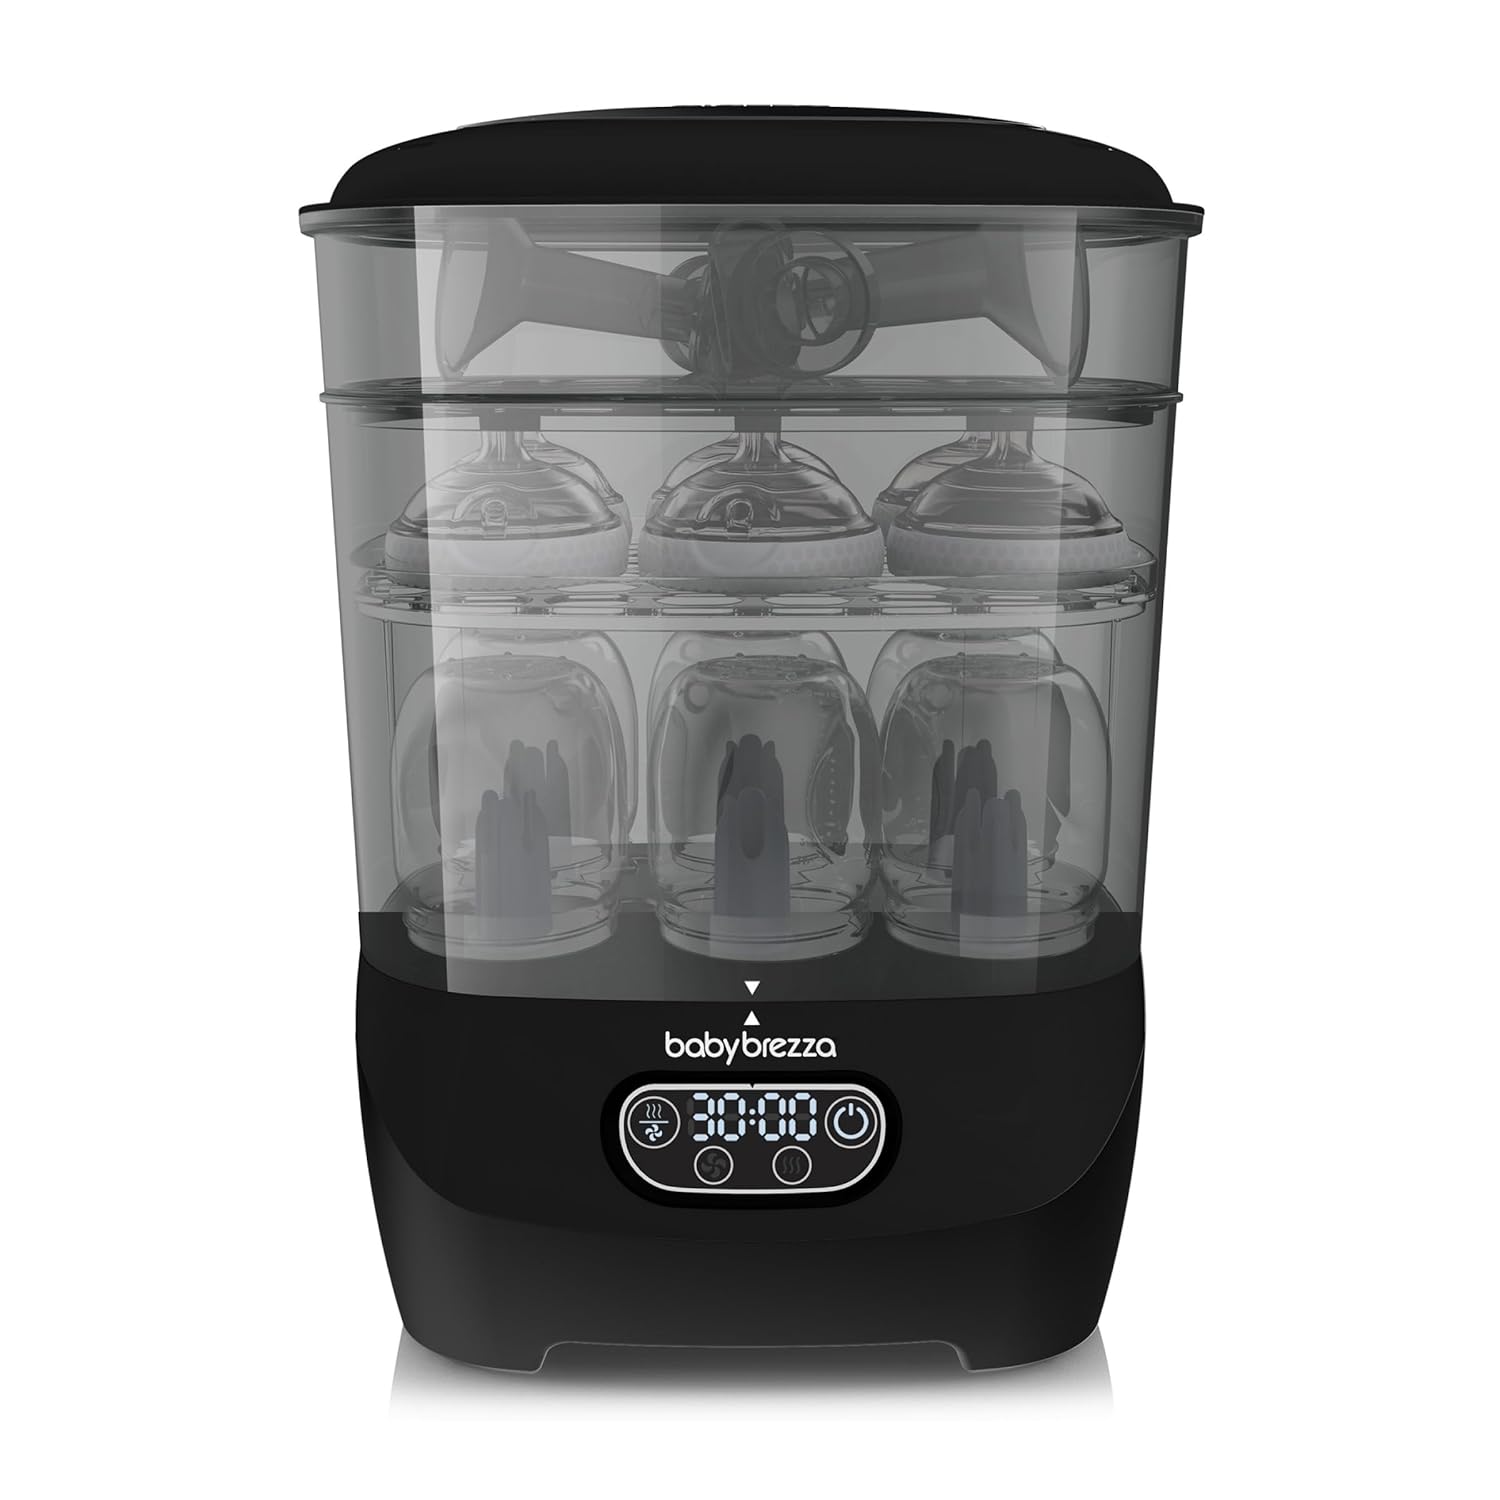
An electric steam sterilizer heats a small amount of water into steam that fills a sealed chamber and kills 99.9% of germs, with no pot to watch, no tongs, and no guesswork. We use the Baby Brezza One Step Sterilizer and Dryer Advanced, and the reason I love it is the “dryer” part: most methods leave you with wet bottles you still have to air-dry, but this one steam-sterilizes and dries with HEPA-filtered air in the same cycle, so bottles come out ready to use. Baby Brezza says items stay sterile for up to 48 hours as long as you keep the lid on.
Here’s exactly how we run it (this is the machine in the video above):
- Clean and rinse everything first. Bottles, nipples, collars, caps, and pump parts all need to be empty, washed, and fully rinsed before they go in. The sterilizer isn’t a substitute for washing.
- Add water to the fill line. Pour water onto the stainless heating plate up to the MAX line (about 165 ml / 5.5 oz on the Advanced). Which water you use matters, see the hard-water tip below.
- Load bottles opening-down. Bottles go mouth-down on the posts so steam reaches inside and water drains out. Put nipples, caps, and small parts on the accessory rack and in the upper basket. Don’t overload it, or the drying suffers.
- Seat the lid and power on. Make sure the lid sits flush with no gaps, then press the power button so the function icons light up.
- Pick your function. You get four: sterilize and dry, sterilize only, dry only, or storage rack. We almost always choose sterilize and dry so it’s a true one-and-done.
- Choose a dry time and walk away. Pick 30, 45, or 60 minutes of drying. The cycle starts a few seconds after your last press and the timer counts down. When it’s done it beeps and shuts off automatically.
- Let it cool about 5 minutes before opening. There’s hot steam in there, so give it a few minutes before you lift the lid.
First-hand hard-water tip: if you have hard tap water, you’ll start to see white mineral staining build up on the plate. I’ve watched it happen in ours. Baby Brezza recommends distilled water to prevent that scale, and it’s the single easiest way to keep the machine running well. If you do use tap or bottled water, plan to descale more often (a 50/50 white-vinegar-and-water soak on the plate every couple of weeks does the job).
Check the current price of the Baby Brezza One Step Sterilizer and Dryer Advanced on Amazon
Pros: completely hands-off, sterilizes and dries in one cycle, works with any brand of bottle. Cons: it’s an upfront purchase, it takes up counter space, and you’ll want distilled water and occasional descaling.
2. Boiling (free, works with almost anything)
The classic method, and the CDC still endorses it. Place your clean, disassembled bottle parts in a pot, cover completely with water, bring to a rolling boil, and boil for 5 minutes. Remove the parts with clean tongs and set them on a clean towel to air-dry. Just check that your bottles are boil-safe first, because some silicone and plastic parts don’t love repeated boiling.
Pros: free, no equipment. Cons: you have to watch the pot, it’s easy to warp cheaper plastics over time, and everything comes out soaking wet.
3. Microwave steam (fast and cheap)
Microwave steam sterilizer bags (and microwave sterilizer tubs) use the same steam principle in a few minutes. Add the small amount of water the package specifies, microwave for the stated time, and follow the product’s cooling and draining instructions. One safety note: don’t microwave glass bottles in steam bags, and never use the microwave to warm formula, because it creates hot spots.
Pros: cheap, fast, travel-friendly. Cons: small capacity, and results depend on following each product’s directions exactly.
4. Dishwasher sanitize cycle (two chores in one)
If your bottles are labeled dishwasher-safe, you can clean and sanitize in one go. Take everything apart, put small parts in a closed-top basket or mesh bag so they don’t fall into the filter, and run a hot-water cycle with a heated drying or “sanitize” setting. The CDC notes that if you use a hot cycle with heated dry, a separate sanitizing step isn’t even necessary.
Pros: cleans and sanitizes at once, totally hands-off. Cons: needs a dishwasher with a hot or sanitize setting, and not every bottle is dishwasher-safe.
5. Cold-water bleach solution (the backup method)
The CDC lists this for when you can’t boil, steam, or use a dishwasher. Mix 2 teaspoons of unscented bleach per gallon (16 cups) of water in a clean basin, submerge all the parts with no trapped air bubbles, squeeze the solution through the nipple holes, and soak for at least 2 minutes. Remove with clean hands or tongs and do not rinse, air-dry instead. Any leftover bleach breaks down as it dries and won’t hurt your baby.
Pros: works with no power or hot water. Cons: most parents’ last resort, and it requires care with measurements.
Baby bottle sterilizing methods compared
| Method | Time | Effort | Best for |
|---|---|---|---|
| Electric steam sterilizer | About 10 min plus dry cycle | Hands-off | Daily use; dries bottles too |
| Boiling | 5 min boil | Watch the pot | Occasional use, no gear |
| Microwave steam | A few minutes | Low | Travel, small batches |
| Dishwasher sanitize | Full cycle | Hands-off | Cleaning plus sanitizing at once |
| Bleach solution | 2 min soak | Moderate | No power or backup only |
How to dry and store bottles so they stay germ-free
Drying is where a lot of people accidentally undo their hard work. The CDC is specific here:
- Air-dry on a clean, unused dish towel or paper towel. Don’t rub or pat parts dry with a towel, because that can transfer germs right back onto them.
- Go easy on drying racks. They can trap moisture and grow mold. If you use one, keep it for baby items only and wash it regularly. (This is exactly why we like that our sterilizer dries the bottles itself.)
- Store dry. Once everything is completely dry, reassemble the bottles and store them in a clean, closed cabinet. Wash your hands first.
Common baby-bottle sterilizing mistakes to avoid
- Skipping the wash. Sterilizing over dried-on milk doesn’t work. Clean first, every time.
- Adding new milk to a partly-used bottle. Toss leftover formula after 2 hours and start with a clean bottle.
- Towel-drying. Air-dry instead, as above.
- Using hard tap water in a steam sterilizer without descaling. You’ll get scale buildup fast, so distilled water is worth it.
- Over-worrying. Constant sterilizing of every bottle isn’t necessary for older, healthy babies. Clean consistently, sterilize as recommended, and give yourself a break.
Frequently asked questions
How long do you sterilize baby bottles?
It depends on the method: 5 minutes at a rolling boil, a few minutes in a microwave steam bag, or one automatic cycle in an electric steam sterilizer (about 10 minutes of steam, plus a 30 to 60 minute dry cycle if it dries too). A bleach soak needs at least 2 minutes.
How often should you sterilize baby bottles?
Sterilize before first use, then clean after every feeding and sanitize at least once a day. Daily sterilizing matters most if your baby is under 2 months, premature, or has a weakened immune system. For older, healthy babies with clean water, the CDC says daily sterilizing may not be necessary.
Do you have to sterilize baby bottles after every use?
No. For most healthy babies, thorough cleaning after each feeding plus sanitizing once a day is enough. Sterilizing after every single feed is generally only advised for the most vulnerable babies or when your water source isn’t reliably safe.
How do you sterilize baby bottles for the first time?
Any CDC-approved method works: boil for 5 minutes, run a microwave or electric steam sterilizer, or use a dishwasher sanitize cycle. Just make sure the bottles are dishwasher-safe or boil-safe first, and let everything air-dry fully.
Can you sterilize baby bottles in the microwave?
Yes, using microwave steam sterilizer bags or a microwave sterilizer tub. Follow the product’s water and timing directions, and don’t microwave glass bottles in steam bags.
How do you sterilize bottles without a sterilizer?
Boil them for 5 minutes, run them through a dishwasher’s hot sanitize cycle, or use the CDC’s cold-water bleach method (2 teaspoons unscented bleach per gallon of water, soak 2 minutes, don’t rinse, air-dry).
What water should you use in a baby bottle sterilizer?
Distilled water is best because it prevents the mineral scale that hard tap water leaves behind on the heating plate. Bottled or tap water works too, but you’ll need to descale the sterilizer more often.
Can you over-sterilize baby bottles?
You can’t really over-sterilize for safety, but frequent boiling or high heat can wear out nipples and cheaper plastics faster. Replace nipples and bottles when you see cracks, cloudiness, or stickiness.
The bottom line
Sterilizing baby bottles comes down to two habits: clean thoroughly first, then kill the leftover germs with heat, steam, or (in a pinch) bleach. Any of the five methods works, so pick the one that fits your life. For us, an all-in-one steam sterilizer and dryer made the daily grind of new-parent life a lot easier, which is why we keep recommending it.
See the Baby Brezza One Step Sterilizer and Dryer Advanced on Amazon
This guide shares general information based on CDC recommendations and our own experience as parents. It isn’t medical advice. Always follow your bottle and sterilizer manufacturer’s instructions and check with your pediatrician about what’s right for your baby.
Munchkin Touch Free Wipe Warmer
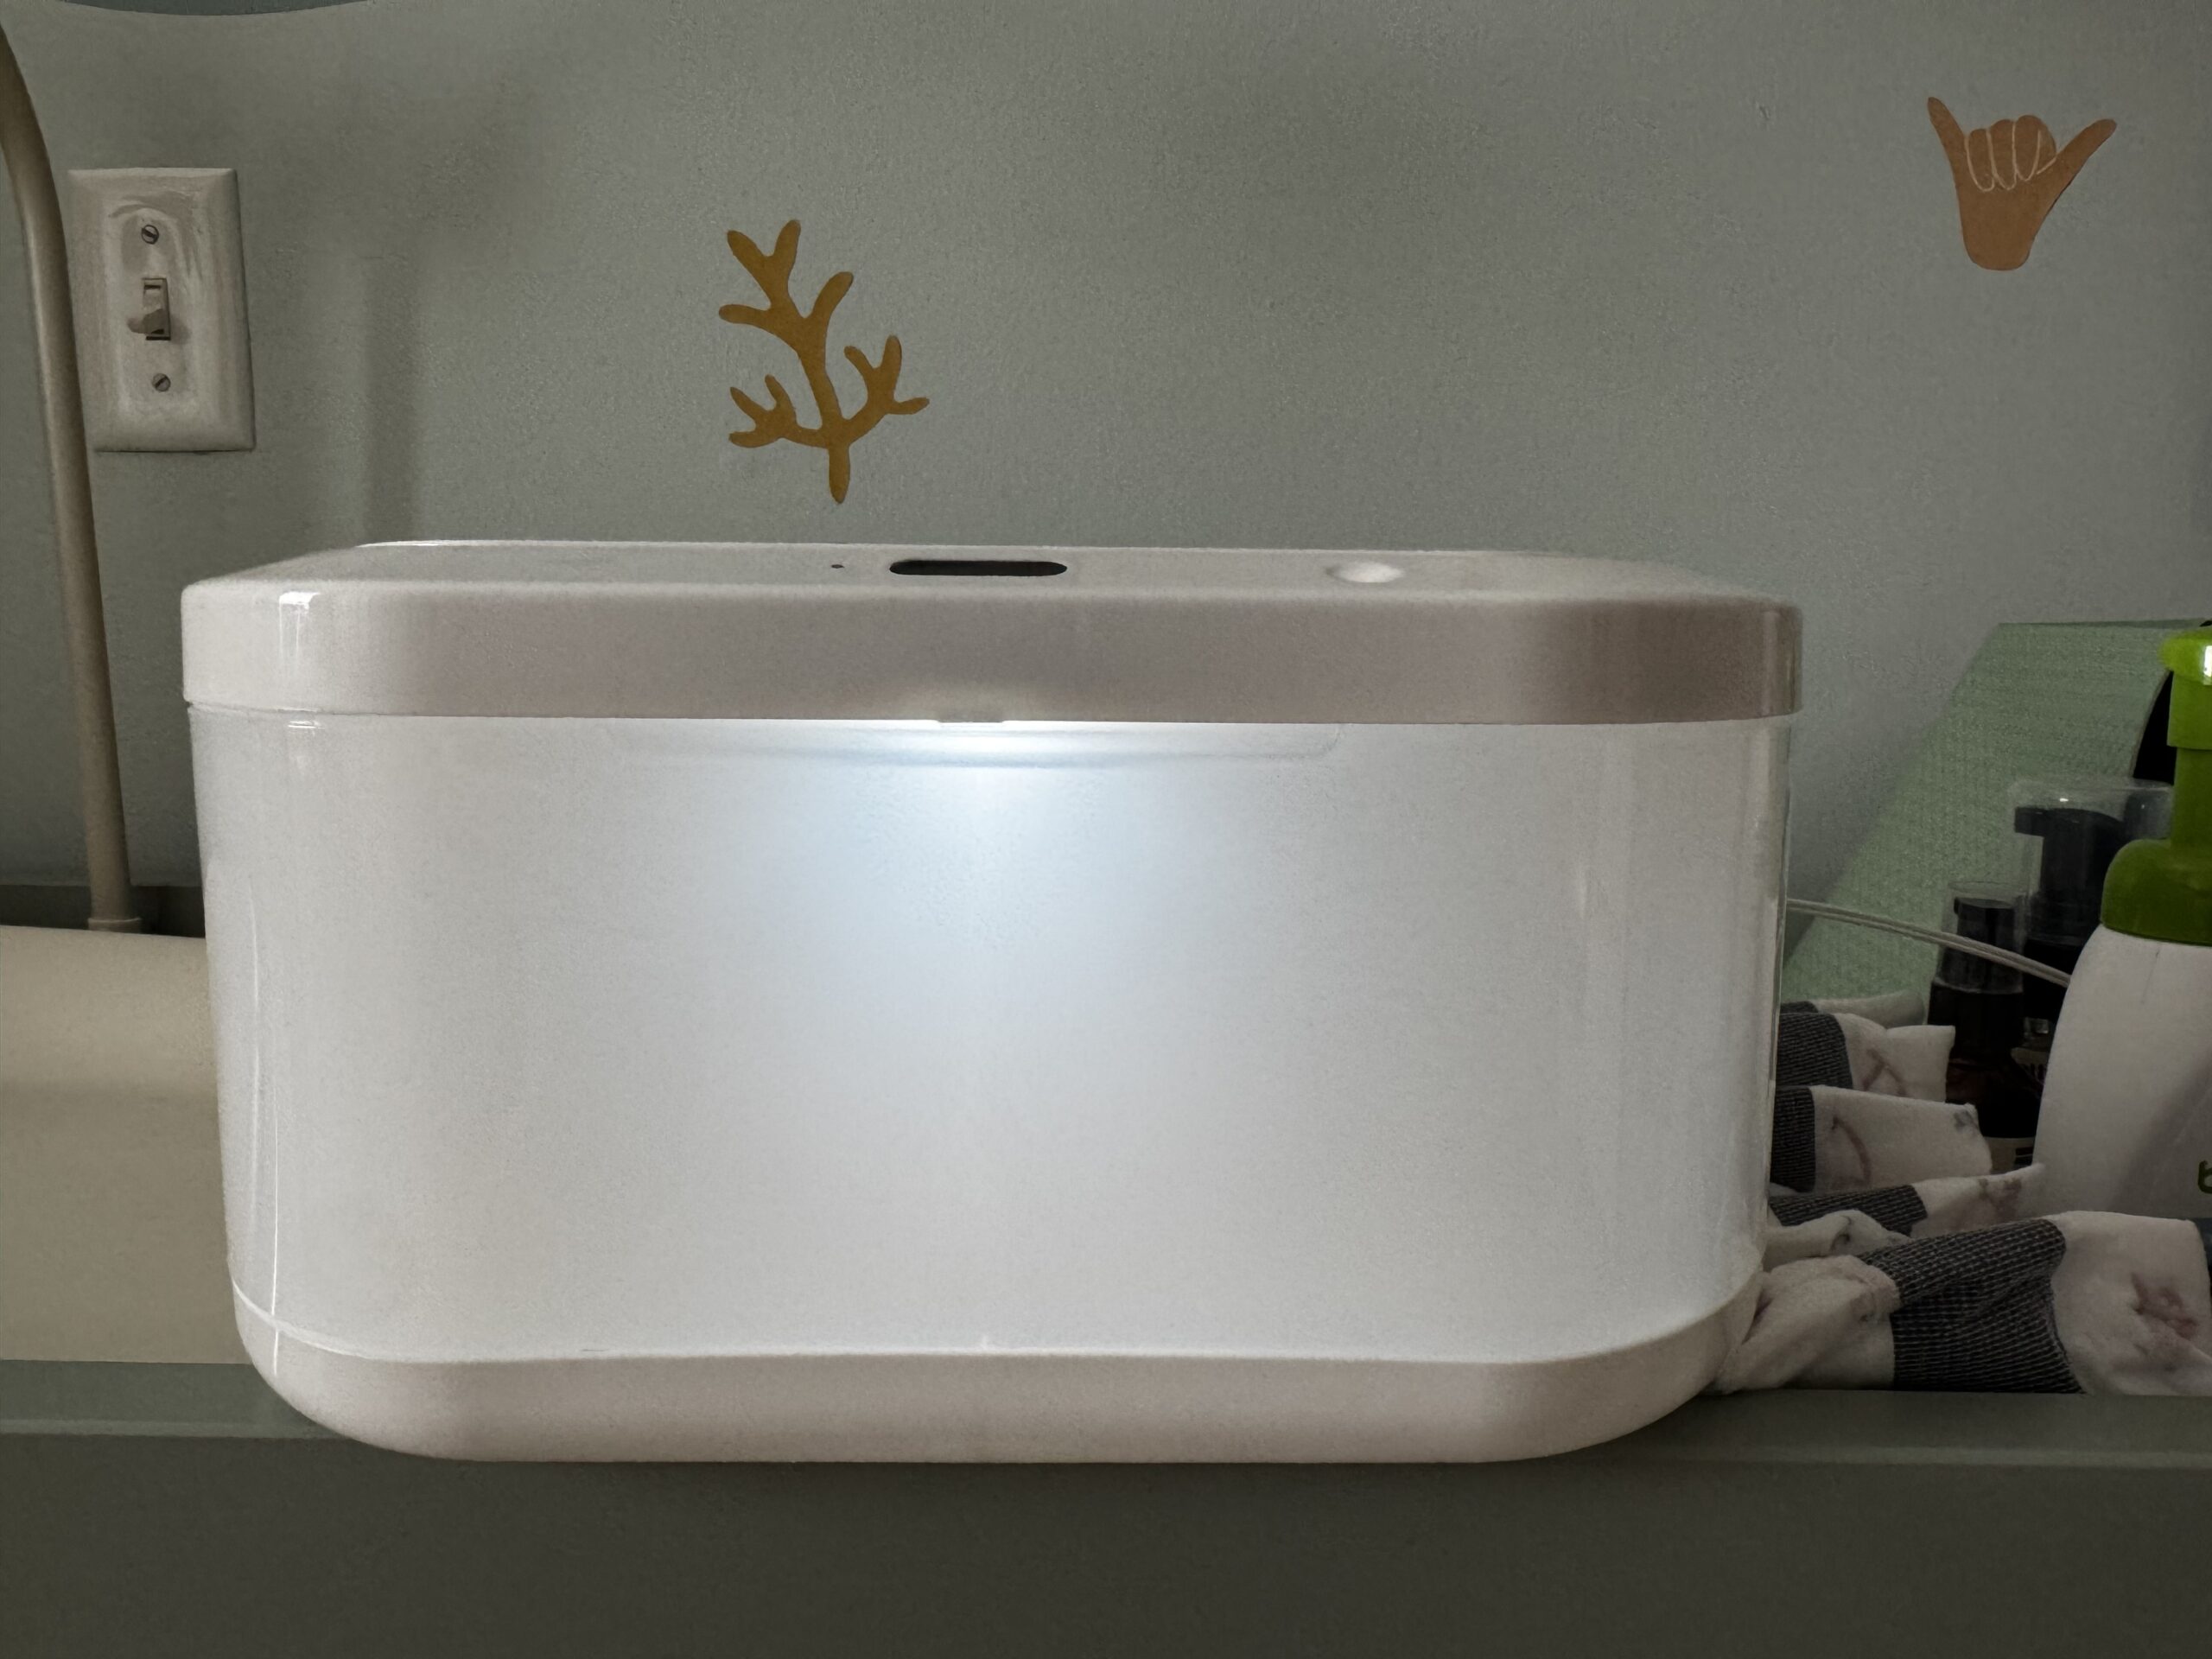
The Munchkin Touch Free Wipe Warmer (model 21315) is a motion-sensor baby wipe warmer with an adjustable nightlight that we got off our registry and have used daily on our changing table. Short version: it’s worth it — the warm wipes and hands-free lid genuinely make diaper changes smoother — with two things to know first: it has no on/off switch (it warms continuously the whole time it’s plugged in), and the wipe well is deep, so you’ll want to keep it topped off. Here’s my full, first-hand take.
Munchkin Touch Free Wipe Warmer: specs at a glance
| Product | Munchkin Touch Free Baby Wipe Warmer with Nightlight & Motion Sensor |
| Model | 21315 |
| Warming | Low-voltage, gentle top-down warming |
| Capacity | Up to ~100 standard wipes |
| Wipe compatibility | Any brand of standard wipes |
| Lid | Touch-free motion sensor (wave to open) |
| Nightlight | Adjustable brightness; auto-off after ~15 min |
| Power | Plug-in — no on/off switch (always warming when plugged in) |
| Plug | US plug (adapter needed abroad) |
| Weight | ~2.35 lb |
| Price | Around $50 |
Pros and cons
What’s good:
- Touch-free motion-sensor lid — a real help when your hands are full mid-change
- Gentle, safe warmth (never hot) that’s easy on newborn skin
- Adjustable nightlight that auto-shuts off — great for overnight changes
- Works with any brand of wipes
- Simple, clean nursery-friendly design
What to watch:
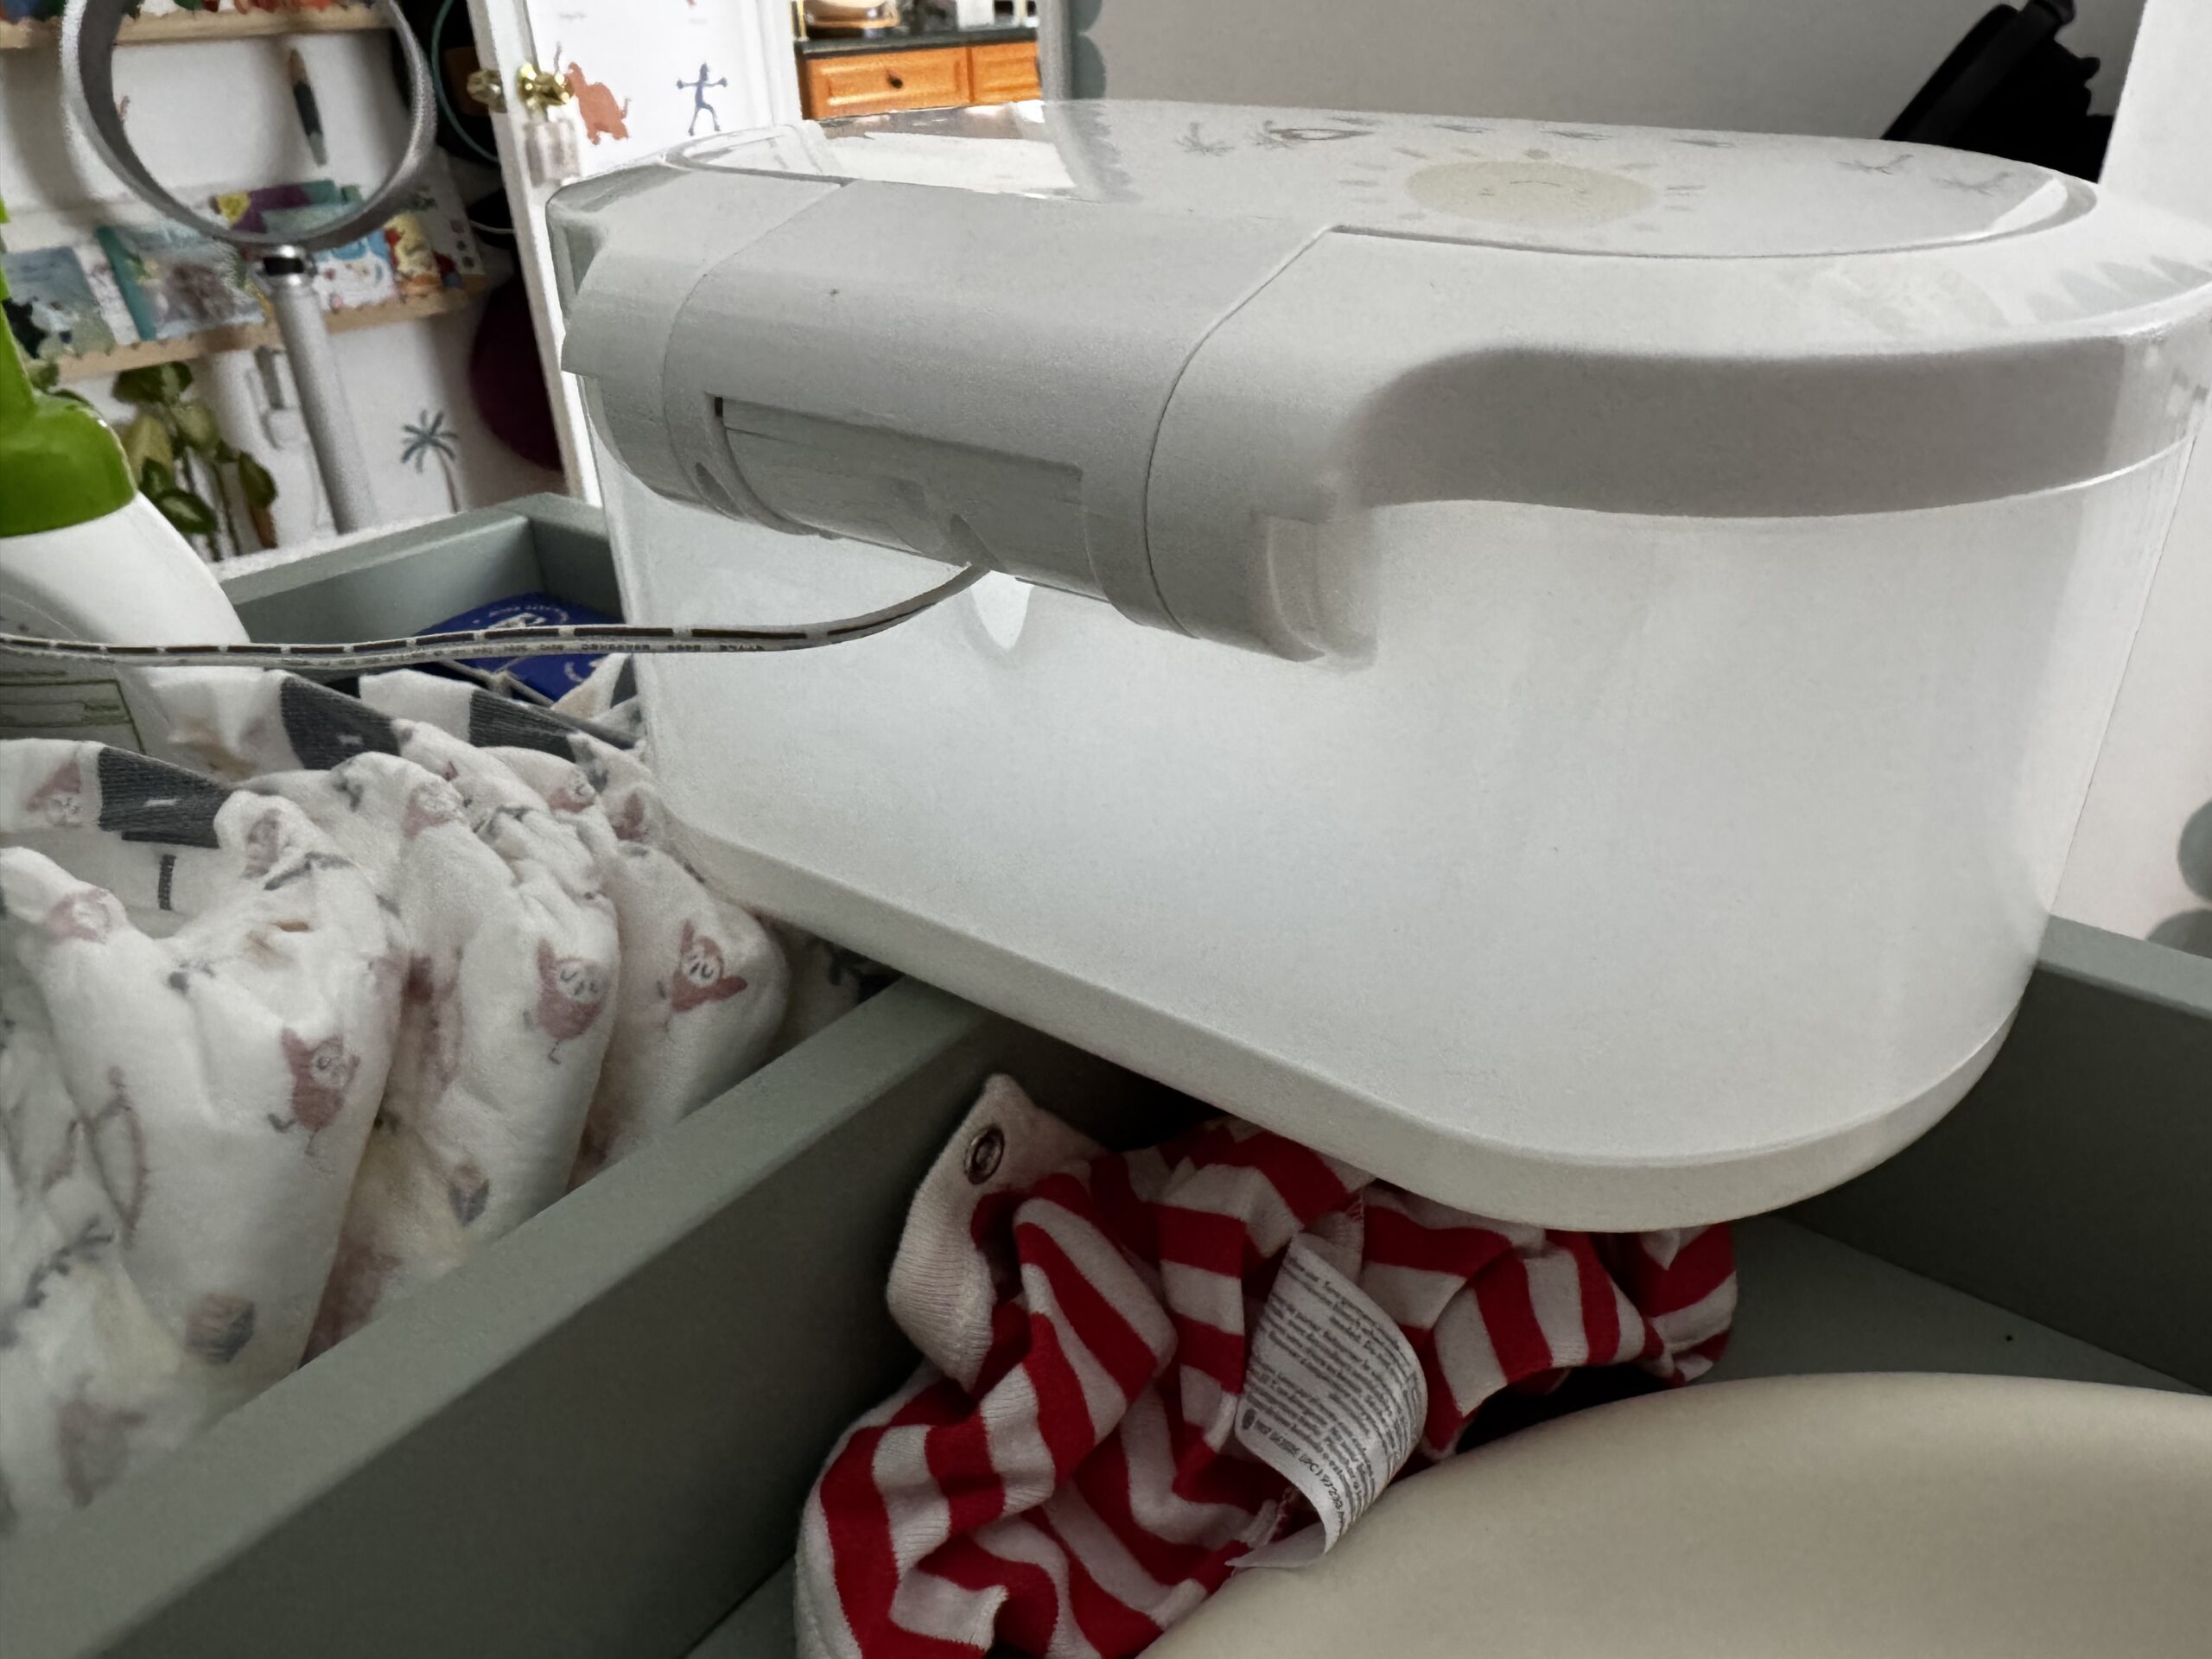
- No power switch — it warms continuously once plugged in
- Deep well means you dig for wipes as the stack gets low
- US plug only
- Some owners report longevity issues (though Munchkin support gets good marks for replacements)
How the Munchkin Touch Free Wipe Warmer works
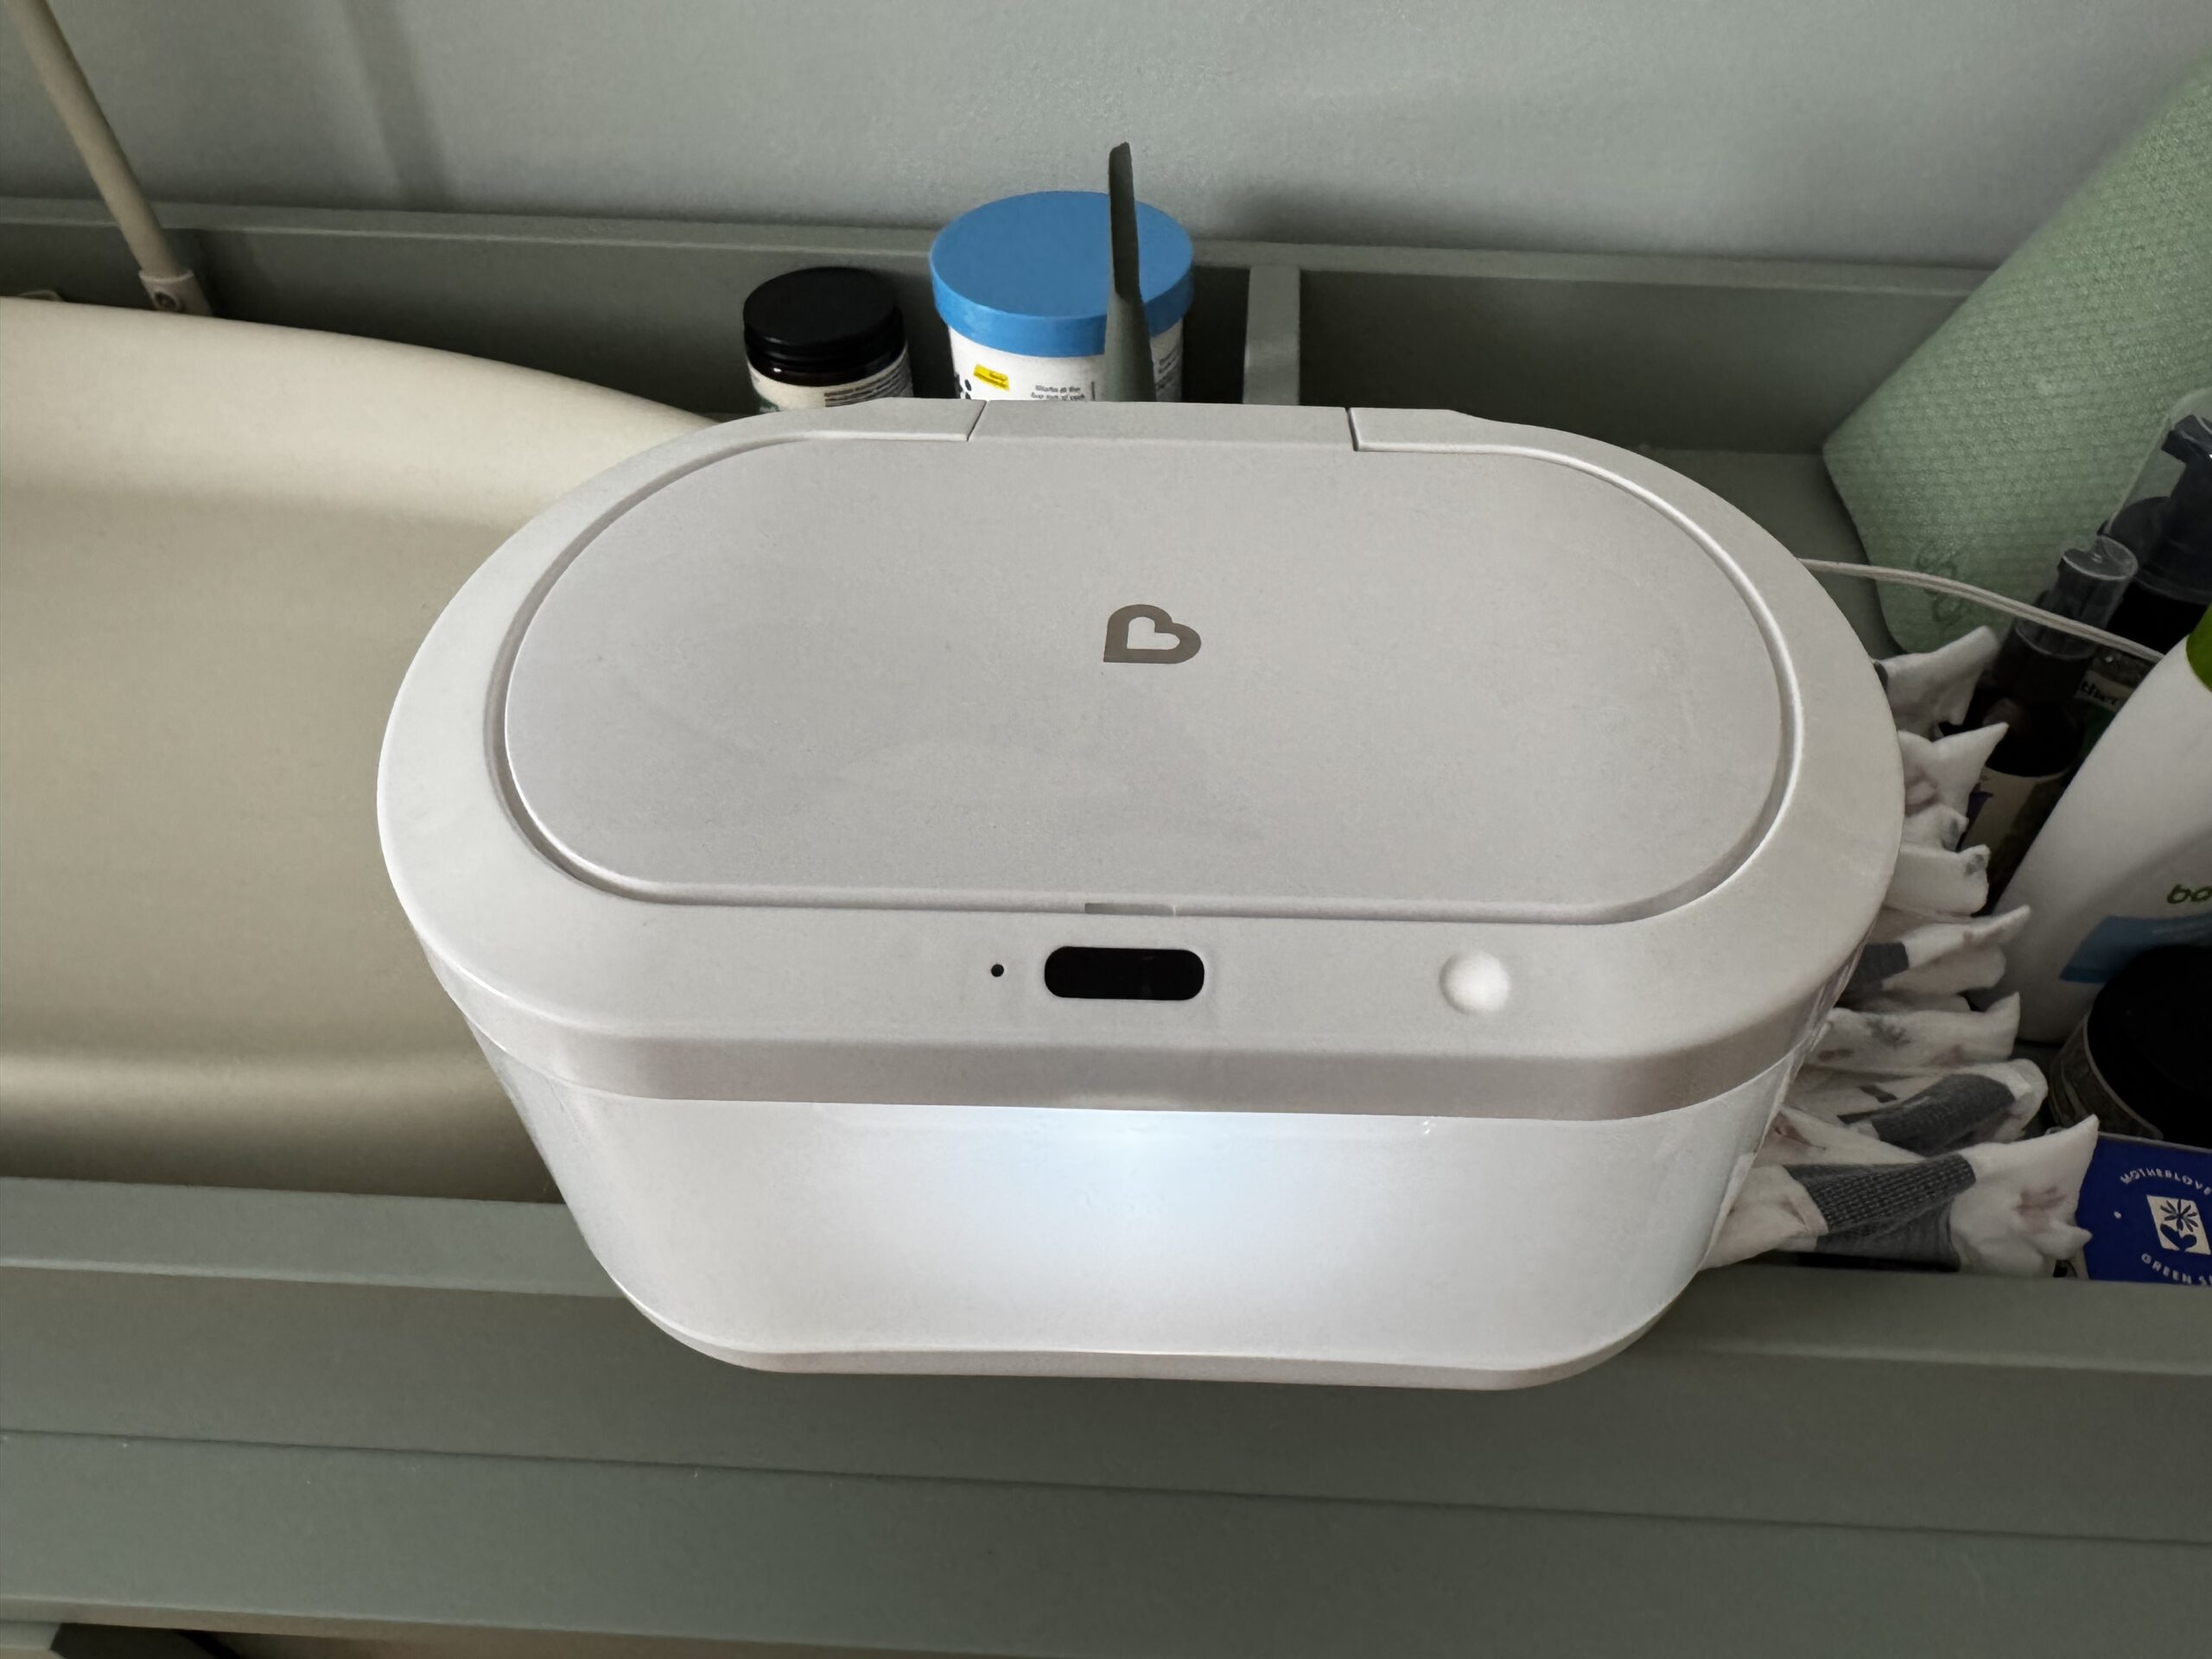
It’s about as simple as a nursery gadget gets. A low-voltage cord plugs into the base and into the wall, and it gently warms the wipes from the top so they’re not shock-cold on baby’s skin. Wave a finger over the motion sensor and the lid pops open — no clean-hand-on-a-messy-lid required. A small button adjusts the nightlight brightness, and the light automatically shuts off after about 15 minutes so it’s not glowing all night.
What I like after months of daily use
The touch-free lid is the standout. When there’s a mess in progress, not having to grab and twist a lid with a clean hand is a small thing that adds up fast. The warmth is dialed in well too — a gentle, room-temperature-plus warmth, never hot, which is exactly what you want on a newborn. And the adjustable nightlight has quietly become my favorite feature for middle-of-the-night changes.
The one real annoyance: the wipes are hard to reach
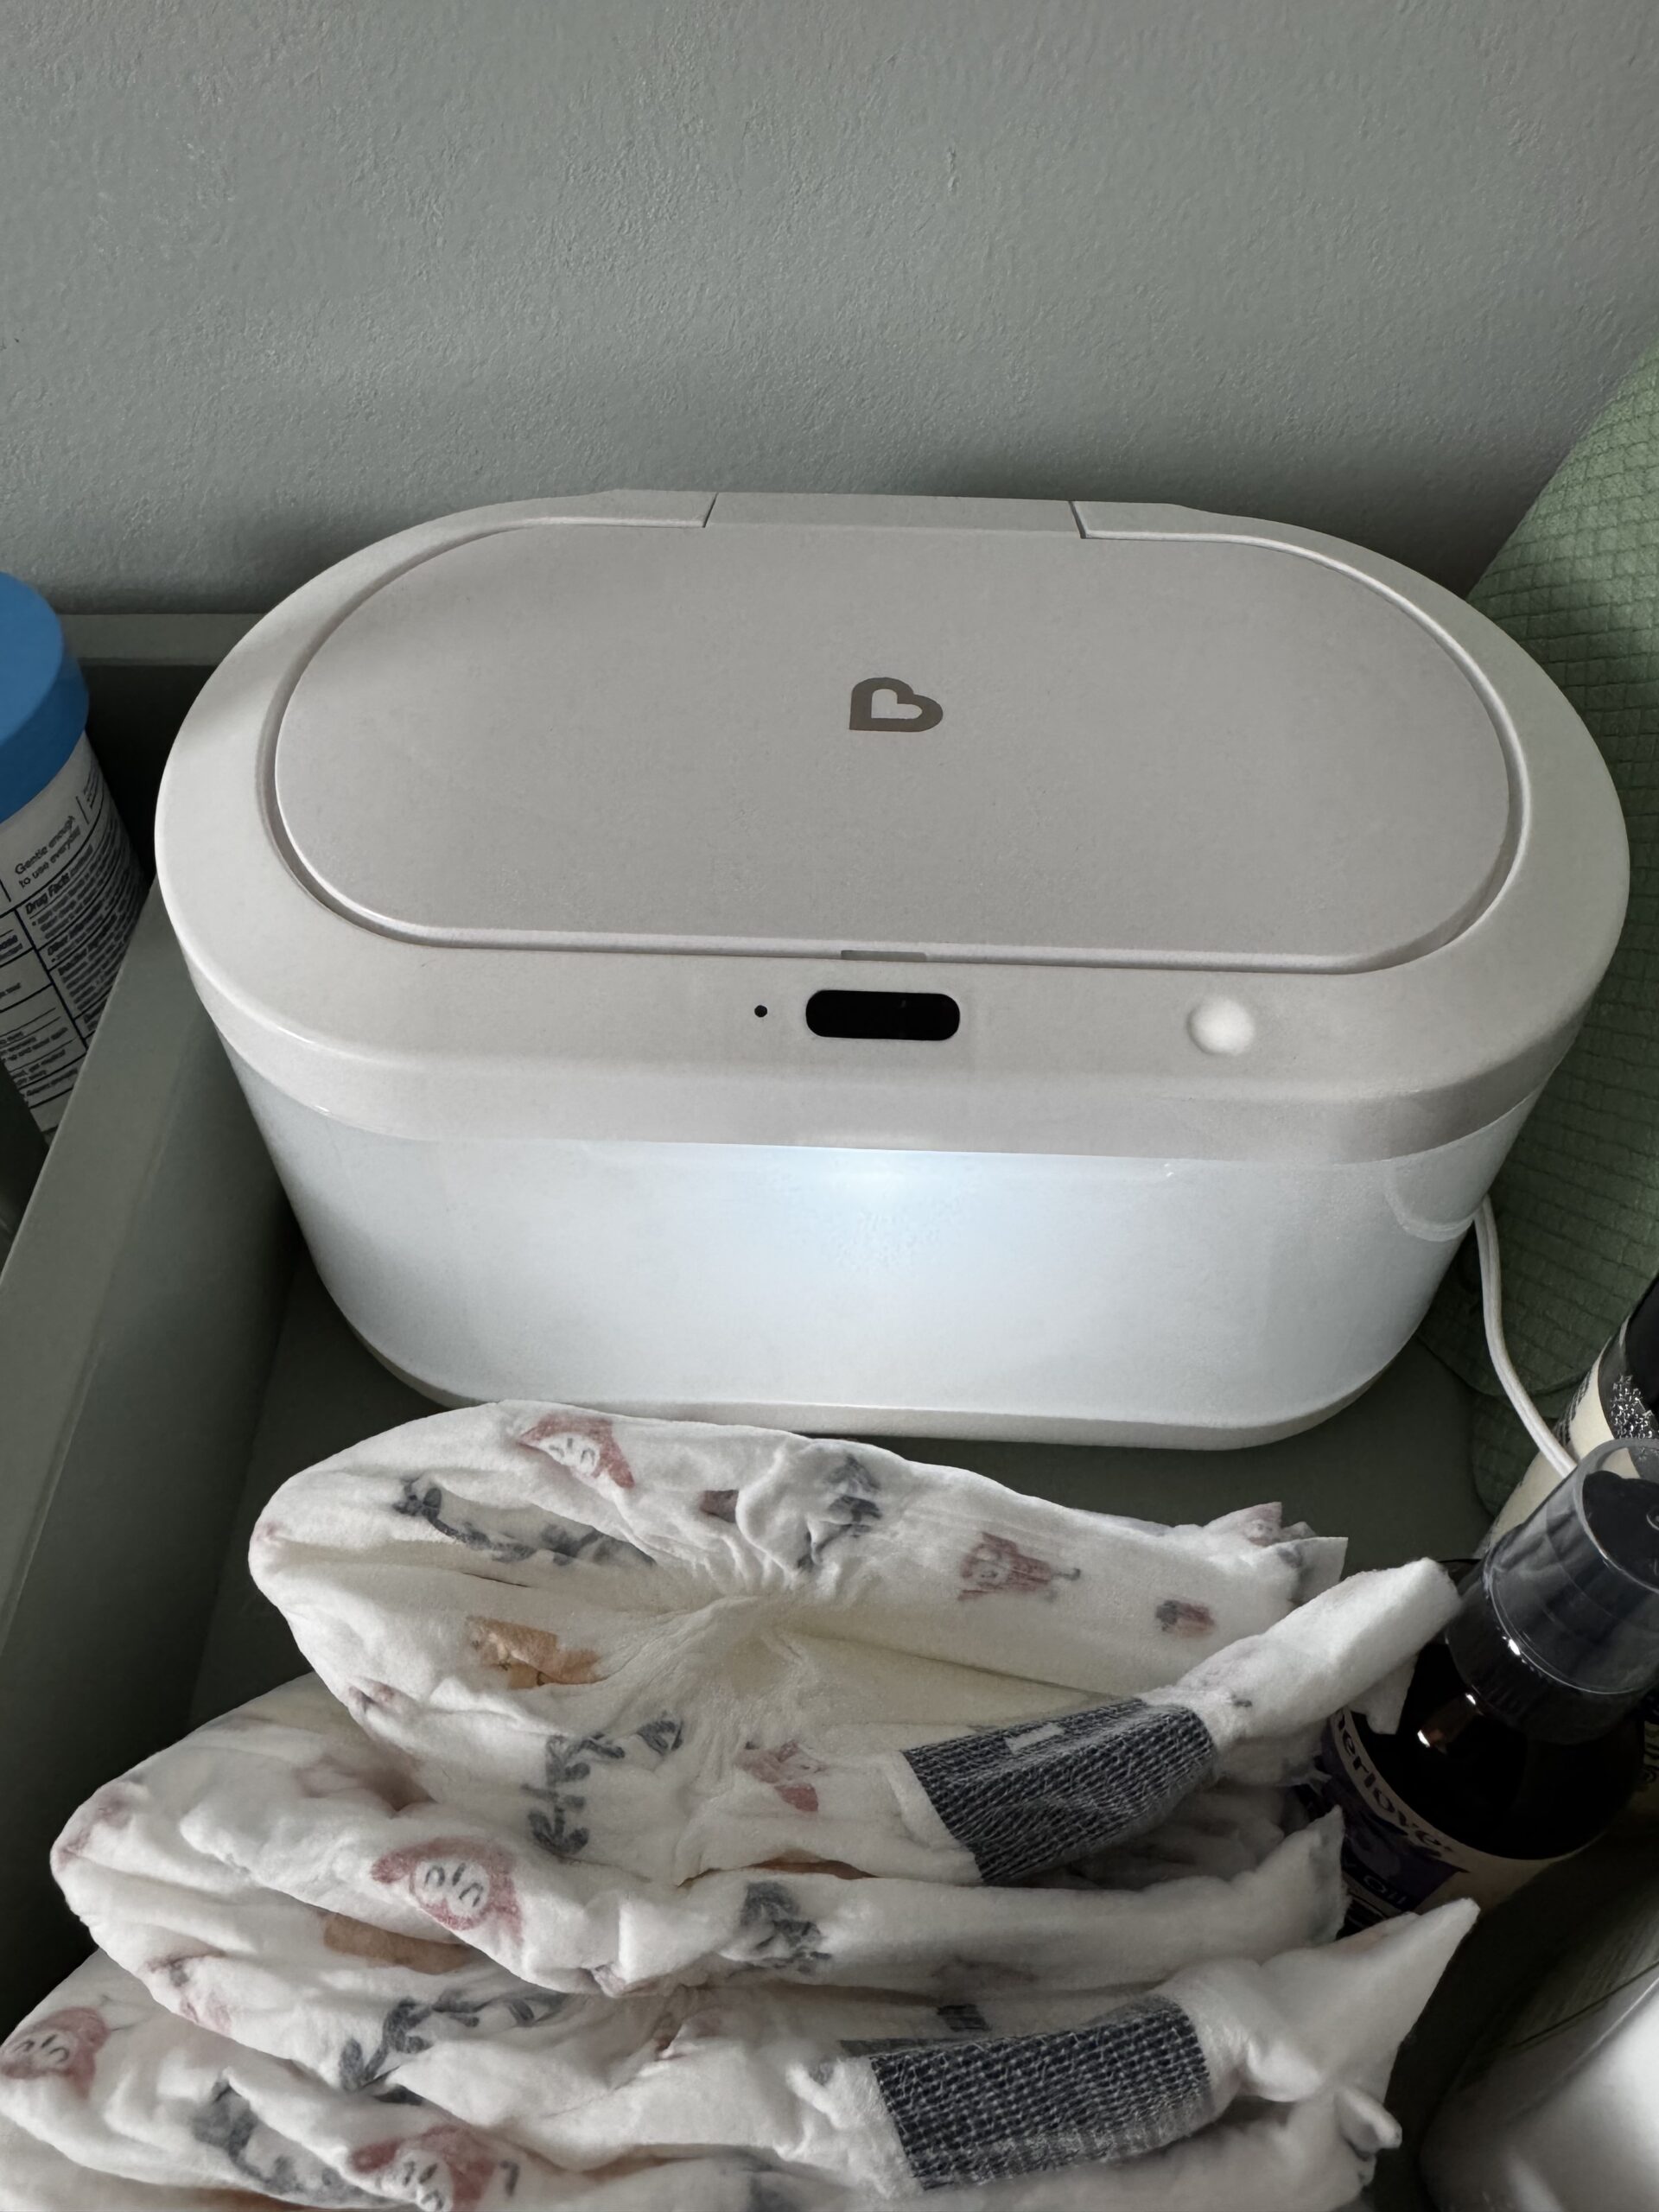
Here’s the honest gripe, and it’s true of pretty much every wipe warmer I’ve used (we have a different one elsewhere in the house): the well is deep. To fill it to the top you’d empty something like three packs of wipes in there, and as the stack dwindles you end up reaching further and further down, digging for the next wipe — not ideal mid-change.
The fix I use: set a small box or riser — something you don’t mind getting a little damp — in the bottom of the well to prop the wipes up closer to the opening. Keeps them within easy reach instead of buried at the bottom. If you buy one, I’d do this from day one.
Important: it’s always on once plugged in
This is the big thing to know. There’s no power switch — the only button controls the nightlight — so the moment it’s plugged in, it’s warming. We unplug ours when we’re not actively using it, which for us is often, so I keep it somewhere the plug is easy to reach. It’s not a dealbreaker, but if you were expecting a simple on/off button, there isn’t one.
Who should buy it
If you’re on the fence about wipe warmers in general: you don’t need one, and plenty of babies are perfectly happy with room-temp wipes. But if you do a lot of overnight changes, or your little one protests the cold, the combination of warm wipes + touch-free lid + nightlight makes the whole routine noticeably smoother. That’s the case for this one, and it’s why we’re keeping ours.
Where to get it
Munchkin Touch Free Wipe Warmer on Amazon.
Munchkin Touch Free Wipe Warmer FAQ
Does the Munchkin Touch Free Wipe Warmer have an on/off switch?
No. There’s no power switch — the only button adjusts the nightlight. Once it’s plugged in it warms continuously, so many owners (myself included) unplug it when it’s not in use.
Is the Munchkin wipe warmer always on? Is it safe to leave plugged in?
Yes, it’s designed to run continuously whenever it’s plugged in — it’s a low-voltage warmer that won’t heat wipes beyond a safe warmth. If you’d rather not leave it running, simply unplug it between uses.
How many wipes does the Munchkin wipe warmer hold?
Up to about 100 standard wipes. It works with any brand. Because the well is deep, it performs best kept topped off.
Why are the wipes hard to reach, and how do I fix it?
The well is deep, so as the wipe stack gets low you have to reach down for them. The easy fix is to place a small waterproof box or riser in the bottom of the well to lift the wipes closer to the opening.
Do the wipes dry out in it?
The warmer helps prevent drying and discoloration, but the top exposed wipe can dry out faster. Keeping the well full and adding a little water when you refill helps.
Can you use any brand of wipes?
Yes — it’s compatible with standard wipes from any brand.
Does the nightlight stay on all night?
No. The brightness is adjustable and the nightlight automatically shuts off after about 15 minutes — long enough for a change without lighting the room all night.
Does it come with a US or UK plug?
It ships with a US plug, so if you’re outside the US you’ll need a plug adapter.
Is the Munchkin Touch Free Wipe Warmer worth it?
For overnight changes or a baby who dislikes cold wipes, yes — the warm wipes and touch-free lid genuinely make changes smoother. If your baby doesn’t mind room-temp wipes, you can skip a warmer altogether.
Final thoughts
Simple, useful, and a nice quality-of-life upgrade for diaper duty — just remember it’s always on once plugged in, and plan for that deep well. We use ours every day and would buy it again. Prefer to see it in action? I walk through all of this in the video above.
Blueair 311i Max Unboxing: First Look at My New Basement Air Purifier
Click here to learn more about the Blueair 311i MAX
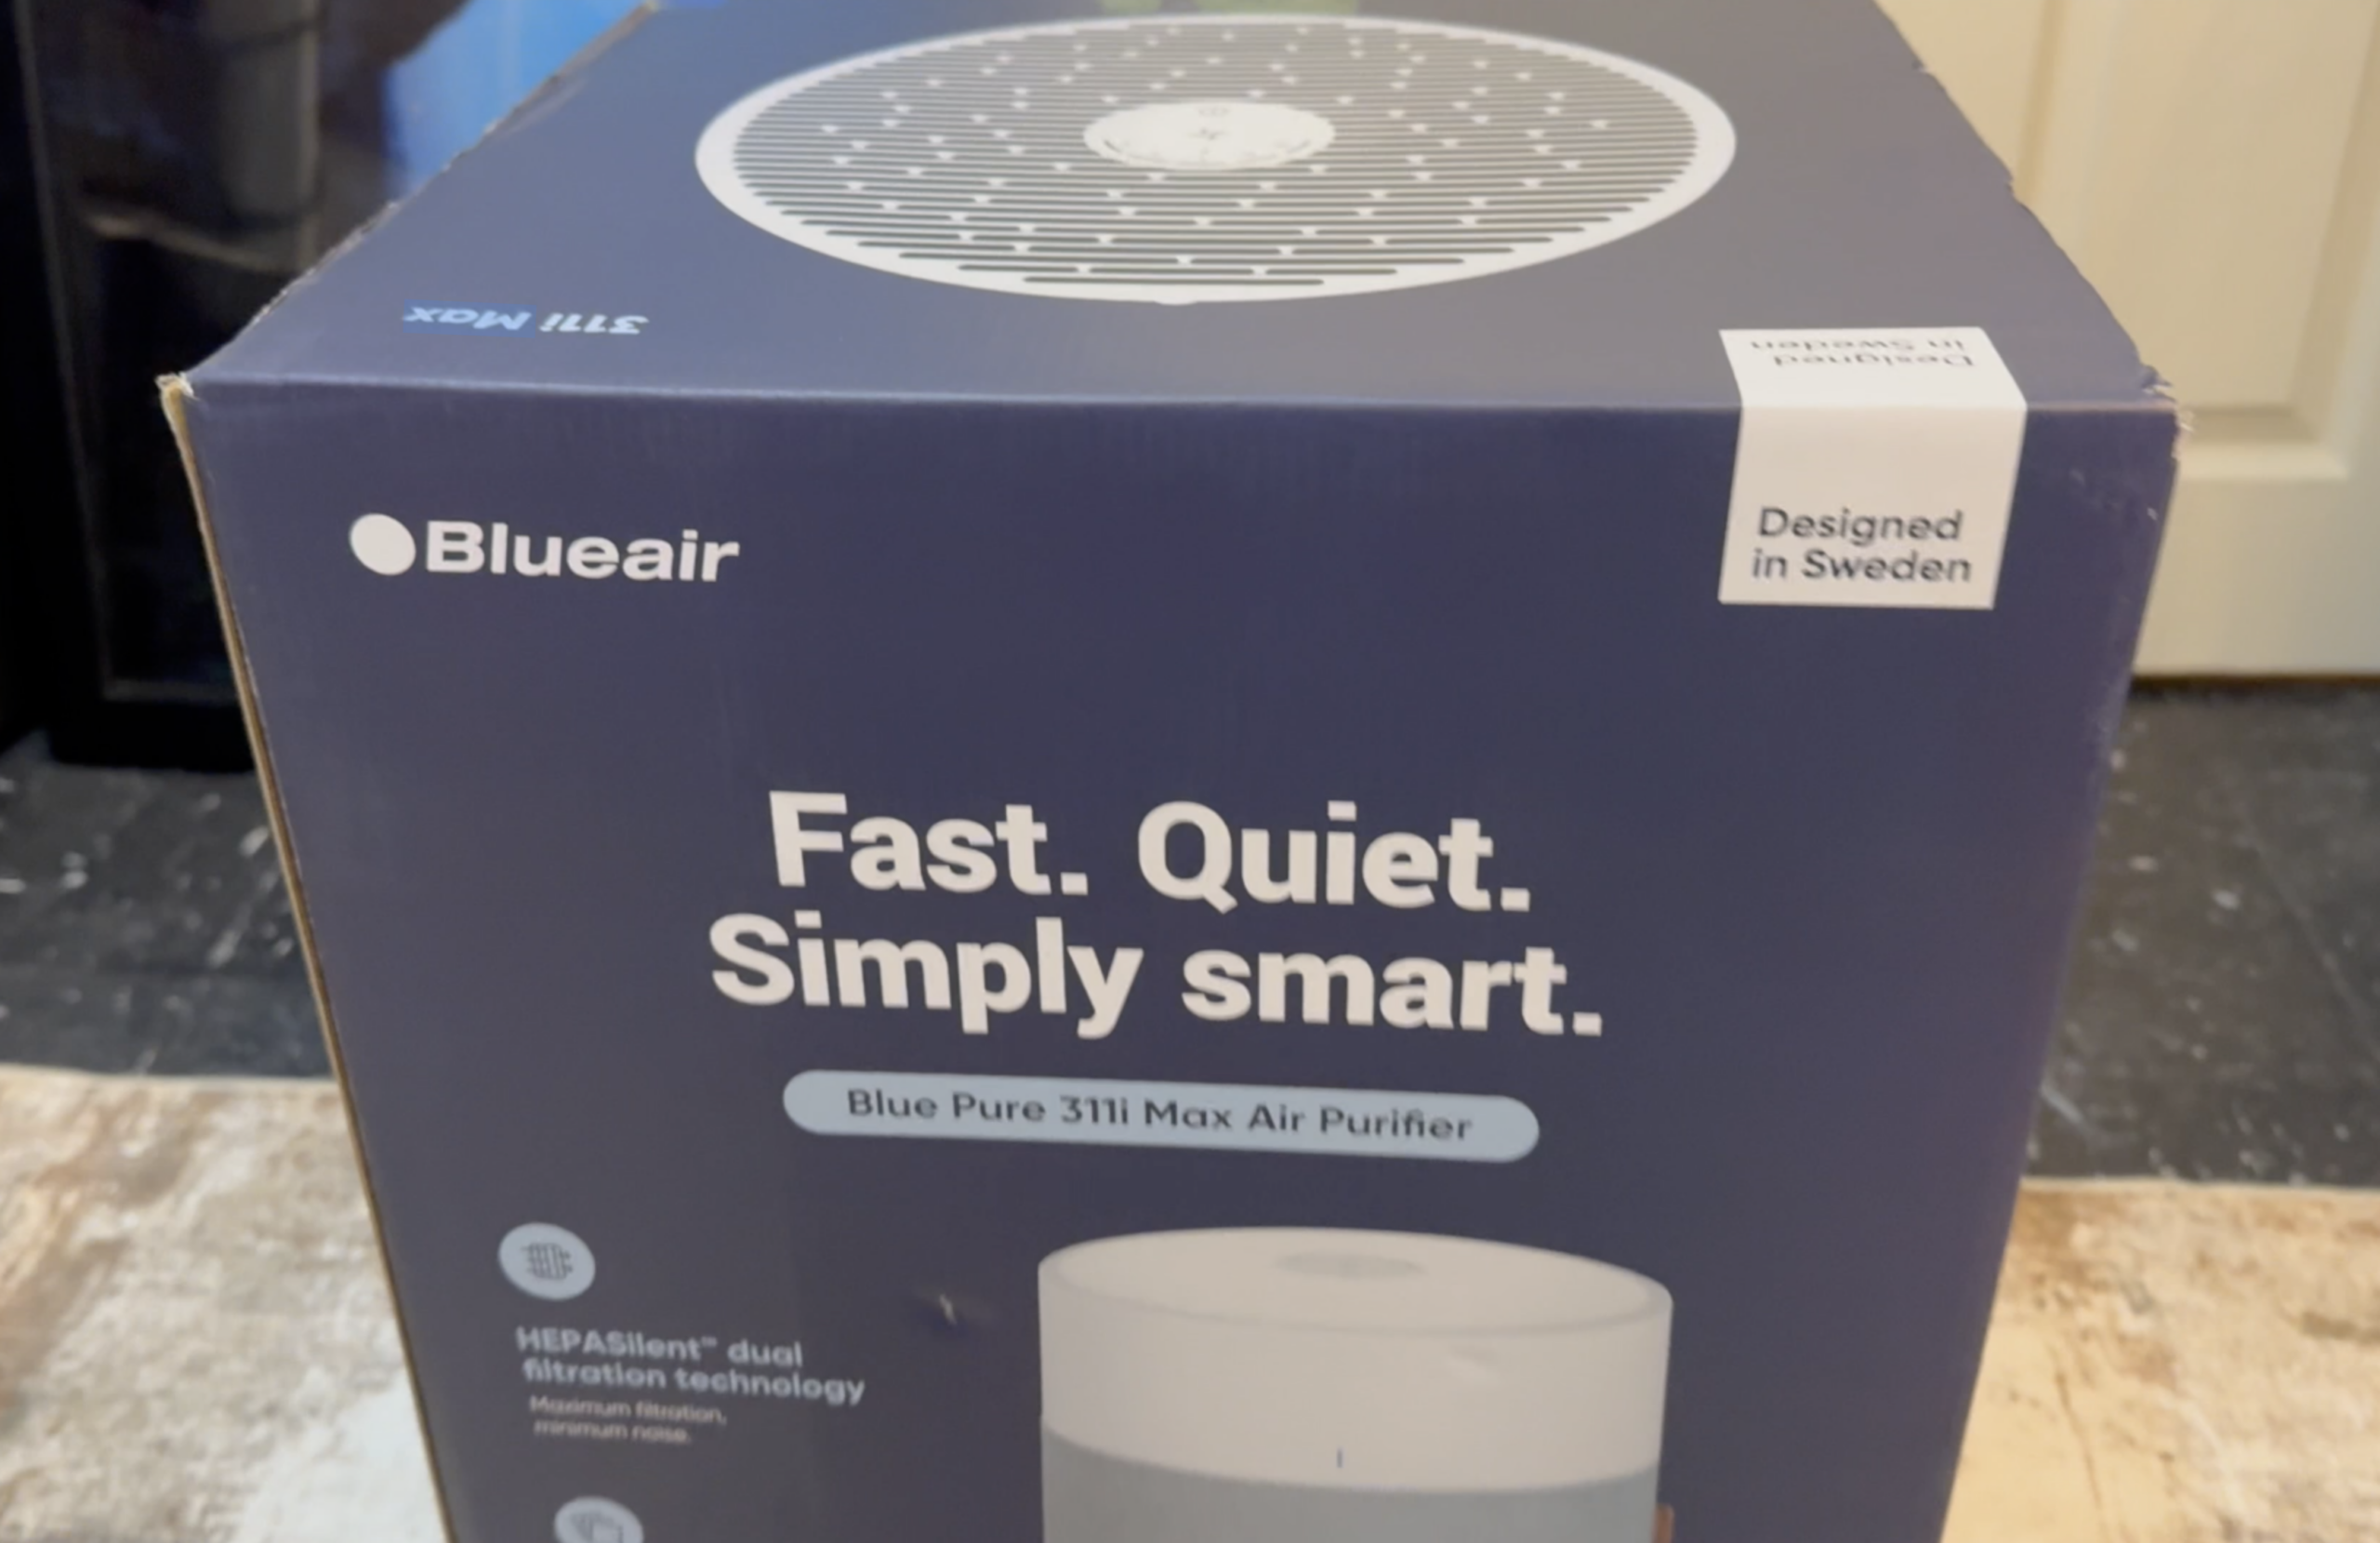
So I picked up a Blueair 311i Max, and even though it’s probably been on the market for a while, it’s brand new to me. I figured I’d film a quick unboxing and then come back with a full review once I’ve actually lived with it for a bit. This post is the unboxing — first impressions, what’s in the box, and why I went with this particular model. The in-depth review is coming soon, so keep an eye out for that.

Why I Chose the Blueair 311i Max
There were a few other models I looked at, and honestly the naming conventions are confusing enough that I can’t even remember half of them. But a couple of things made this one the pick for me.
First, the filtration. The 311i Max uses Blueair’s HEPASilent dual filtration, which combines mechanical and electrostatic filtration to capture 99.97% of airborne particles down to 0.1 microns — dust, pollen, smoke, pet dander, and mold spores included. That was the best filtration I found among the options I was comparing.
Second, the size made sense for my space. We’re down in the basement right now, which is roughly 600 square feet, and the big concern down here is humidity — and where there’s humidity, mold can become a problem. I wanted something that could just run constantly and keep the air moving. By my math, this unit should turn the air over about three to four times an hour in a room this size, which is exactly what I was after.
And the honest reason underneath all of it: I’m doing this for my kid. If you’re a parent trying to find something safe that quietly cleans the air your family is breathing, that’s the lens I’m coming at this from.
First Impressions Out of the Box
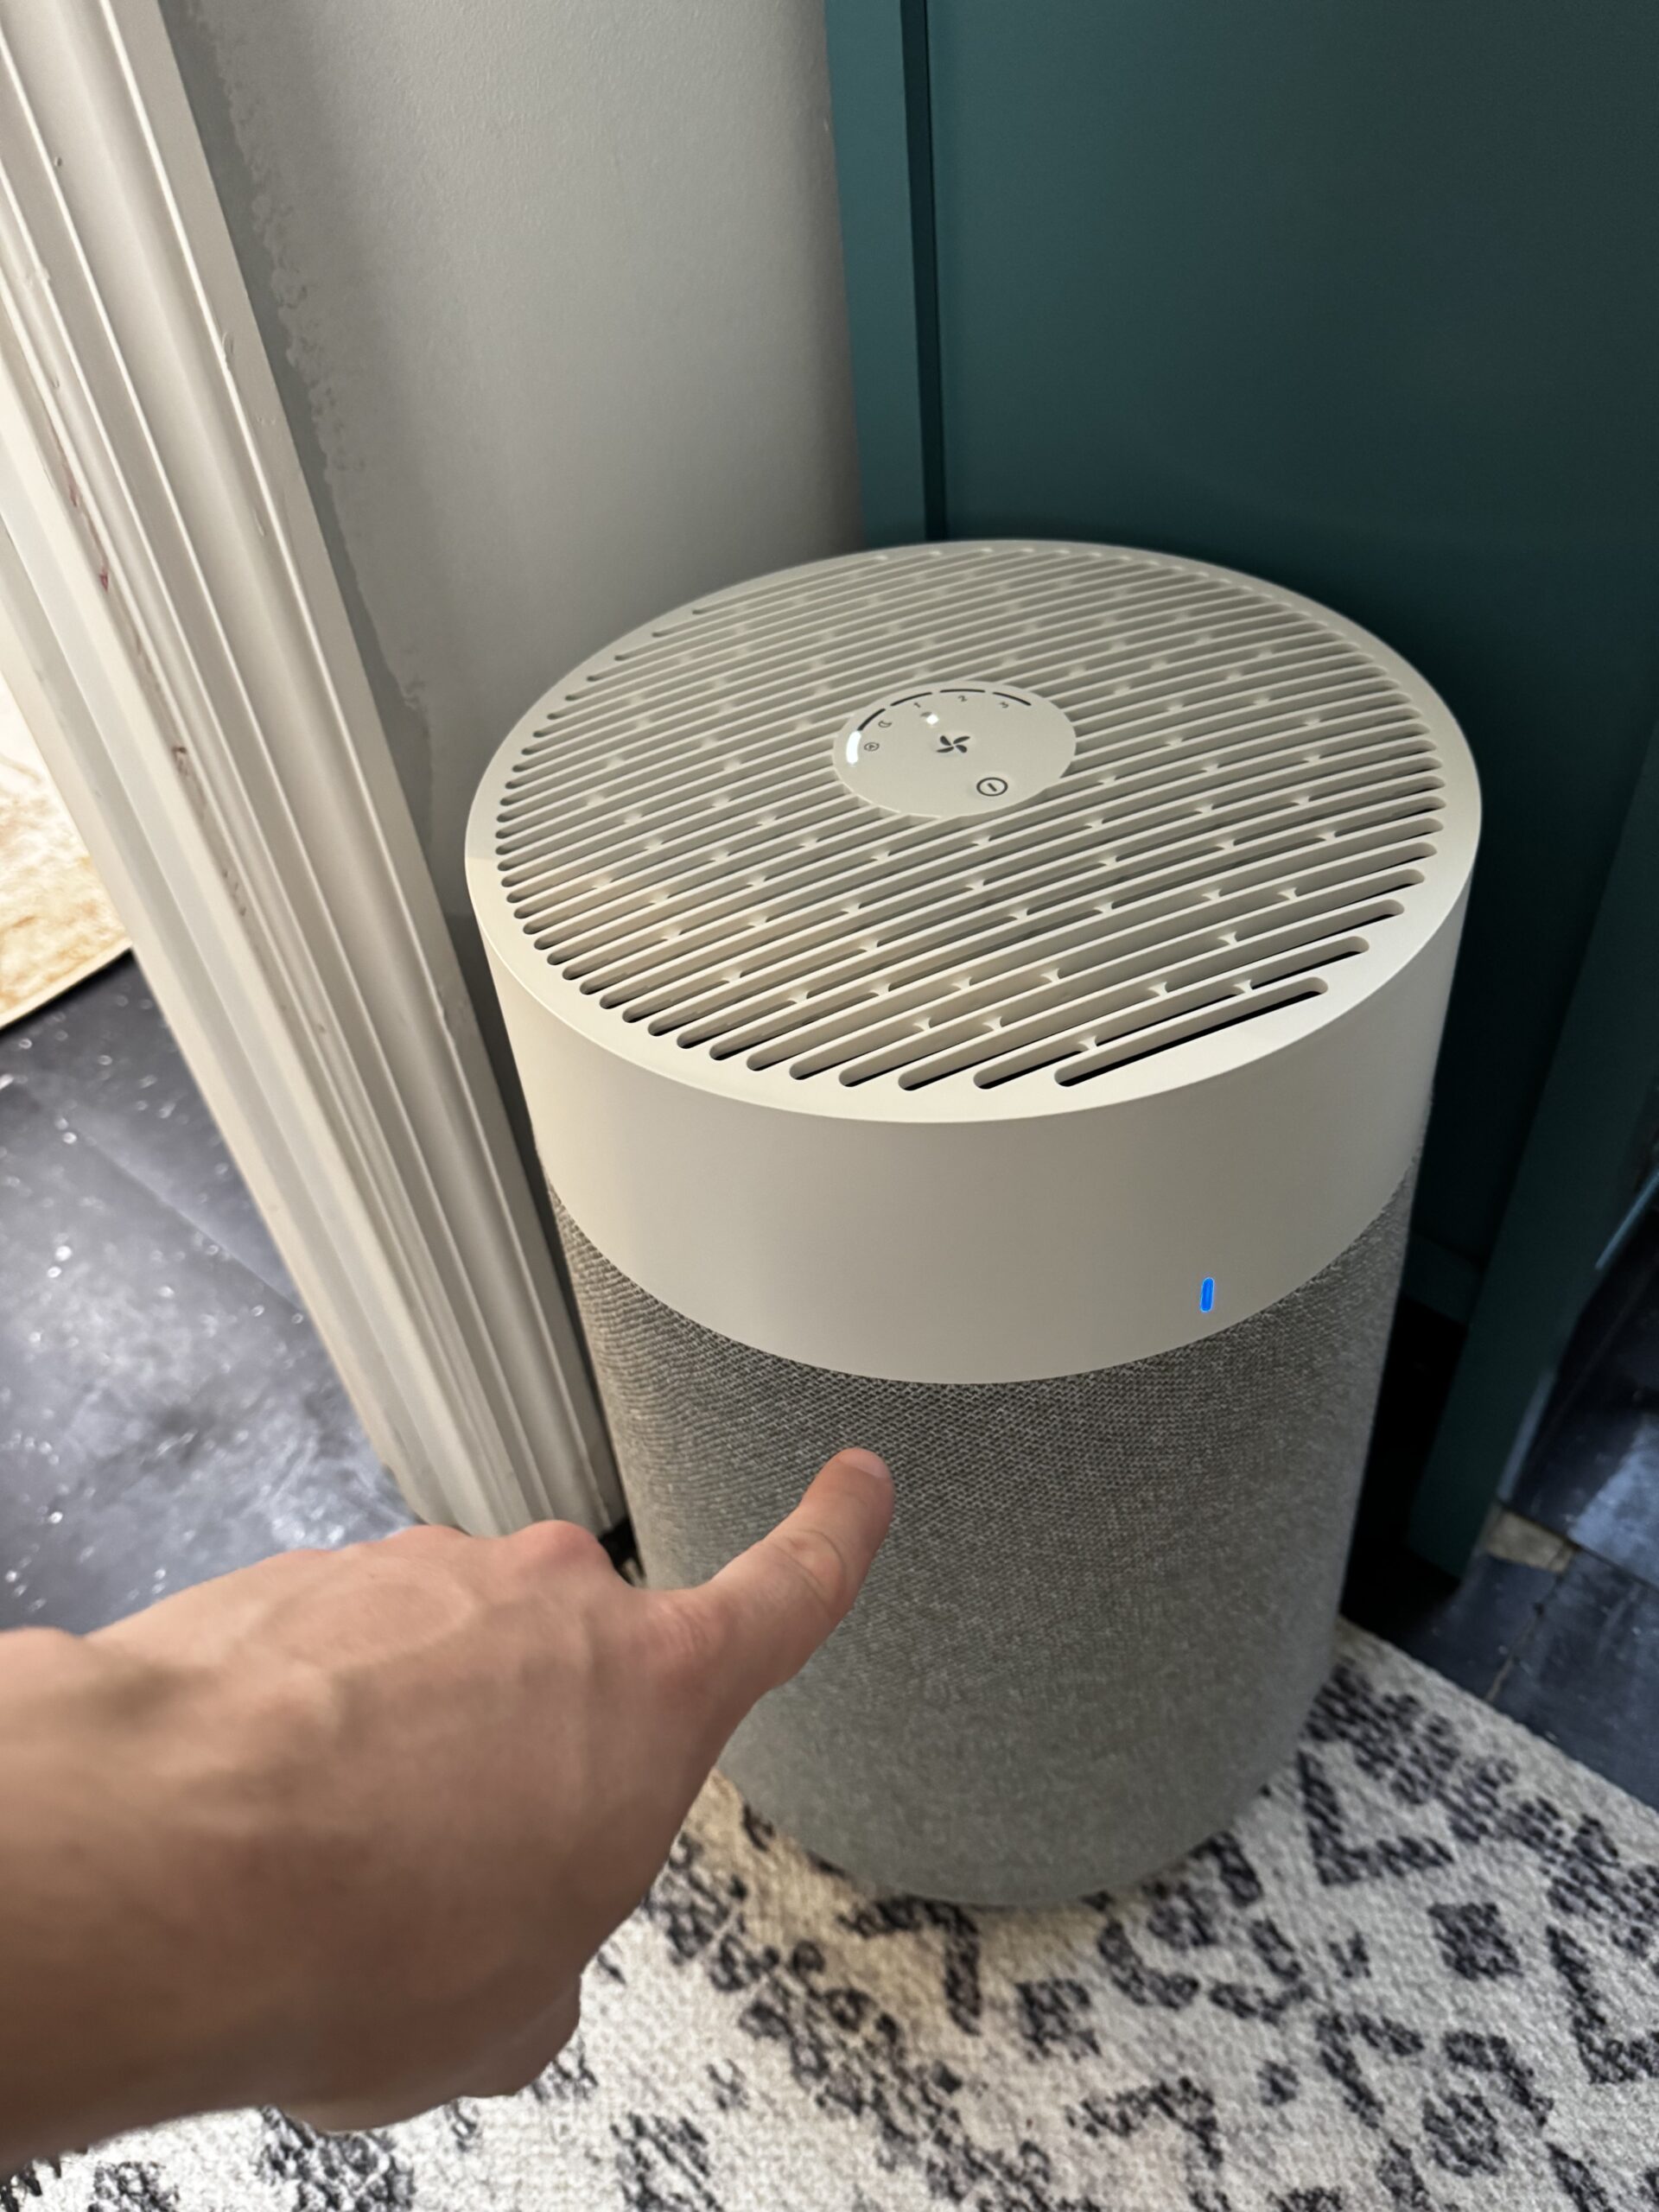
Right away, the size is great. It’s roughly knee height — a tapered cylinder that’s easy to tuck into a corner. The real challenge is going to be figuring out the best spot to place it, not finding room for it. It feels well built and looks clean, which matters when it’s going to be sitting out in a living space all day.
Plugging It In and Turning It On
Here’s a nice surprise: I literally just plugged it in without touching a single button, and it turned itself on automatically. It started up in Auto mode on its own.
The first thing I noticed is how quiet it is — very, very quiet. I did the old “hold a receipt up to it” test to see how much air it actually pushes, and even at a moderate setting it’s moving a reasonable amount of air while staying nearly silent. As a bonus, the air coming out actually smells clean.
For controls, it keeps things simple: there’s Auto mode, a Night mode that dims the lights and drops the fan way down, and a few standard fan speeds. There’s also an app to download for the smart features, which I’ll dig into properly in the full review.
Opening It Up: The Filter
I wanted to see how the inside is laid out, and it could not be simpler. You just twist the top and it comes right off. Underneath you’ve got the motor unit, a nice fan, and the filter itself.
The replacement filter runs somewhere in the $50–$70 range, which felt a little pricey at first. But here’s how I talked myself into it: it’s rated to last roughly 6 to 9 months, and the unit even tracks filter life for you and tells you when it’s time to swap. When you compare that to what any whole-home HVAC filtration setup costs, paying around that much a year to not worry about what we’re breathing in feels like a fair deal to me.
Quick Specs at a Glance
- Model: Blueair Blue Pure 311i Max
- Filtration: HEPASilent dual filtration — 99.97% of particles down to 0.1 microns
- CADR: 250 (smoke, dust, pollen)
- Coverage: Medium-sized rooms (great fit for our ~600 sq ft basement at ~3–4 air changes/hour)
- Noise: Whisper-quiet on low; tops out around 50 dB on high
- Smart features: Wi-Fi, app control, Auto mode, air quality indicator
- Filter: Genuine F3MAX (particle + carbon), ~$50–70, lasts ~6–9 months with replacement reminders
My First Take
So far, so good. It’s quiet, it’s well designed, it’s the right size for the room, and the filtration spec is exactly what I wanted for a damp basement where mold is the main worry. I’ll be running this every day, and once I’ve got real time on it I’ll publish the full review — including how the app works, how it holds up over time, and whether it actually makes a difference in air quality down here.
Want to grab one for yourself? You can check the current price below.
Full review coming soon — be on the lookout!
Affiliate Disclosure: As an Amazon Associate I earn from qualifying purchases.
Some links in this post are affiliate links, which means I may receive a small commission if you
make a purchase through them — at no additional cost to you. I only share products I actually use.
Baby Brezza Bottle Sterilizer and Dryer Advanced Review: Hands-On During Our Final Countdown to Baby
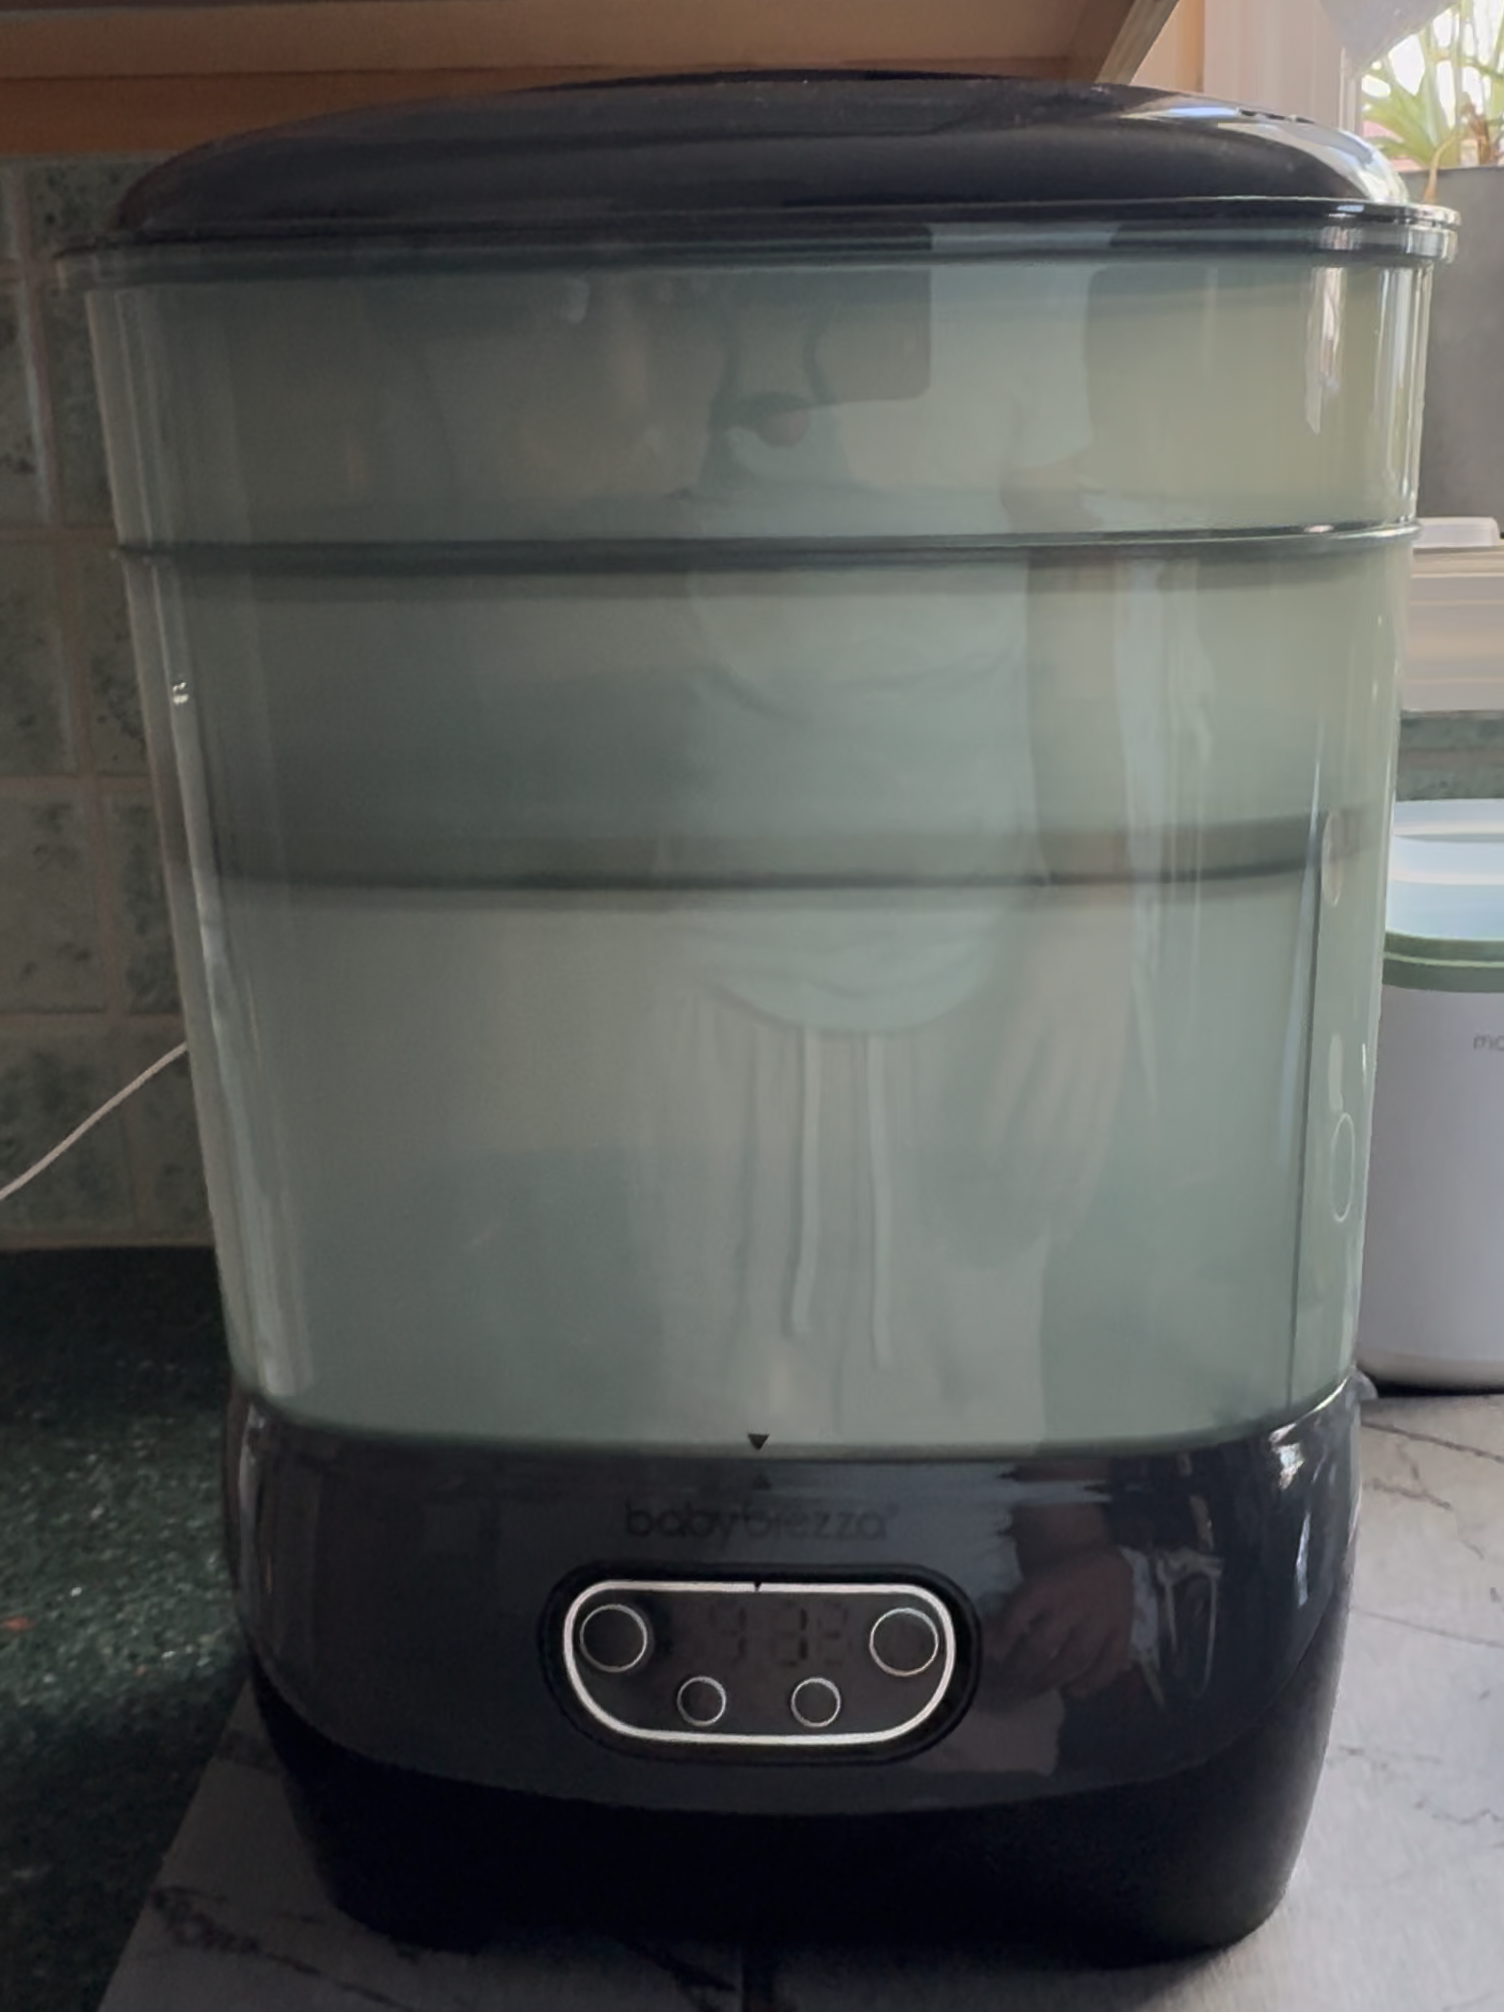
We’re in the final countdown before our baby arrives, which means we’re sterilizing absolutely everything in sight. The machine doing the heavy lifting is the Baby Brezza Bottle Sterilizer and Dryer Advanced, and after loading it up over and over, I wanted to put together a real, hands-on writeup — not a spec sheet rehash. Below is what it’s actually like to live with, including the small quirks nobody tells you about before you buy.
Check the current price on Amazon →
The Quick Verdict
Bottom line: This is a genuinely awesome piece of baby gear. It’s simple to take apart, holds a ton, and — most importantly — everything comes out perfectly dry even on the shortest cycle with the trays packed full. There’s a minor learning curve with lining up the trays and a couple of placement things to be aware of, but none of it is a dealbreaker. If you’re staring at your registry wondering whether to add a sterilizer, this is the one I’d put on it.
Quick Specs at a Glance
| Feature | Detail |
|---|---|
| Capacity (rated) | Up to 8 bottles + 2 full breast pump part sets + accessories |
| What it kills | 99.9% of germs, mold, and the yeast that causes thrush (natural steam) |
| Drying | HEPA-filtered air, 95% germ-free; dries 33% faster than other brands |
| Functions | 4 modes: Sterilize & Dry, Sterilize Only, Dry Only, Storage Rack |
| Cycle options | 30, 45, and 60-minute settings |
| Stays sterile | Up to 48 hours when the lid stays on |
| Heating plate | Stainless steel (resists rust and hard-water buildup) |
| Compatibility | Plastic, silicone, and glass bottles; any brand |
| Controls | LCD panel with digital countdown timer |
| Warranty | 1-year limited (US) |
First Impressions: It Comes Apart Easily
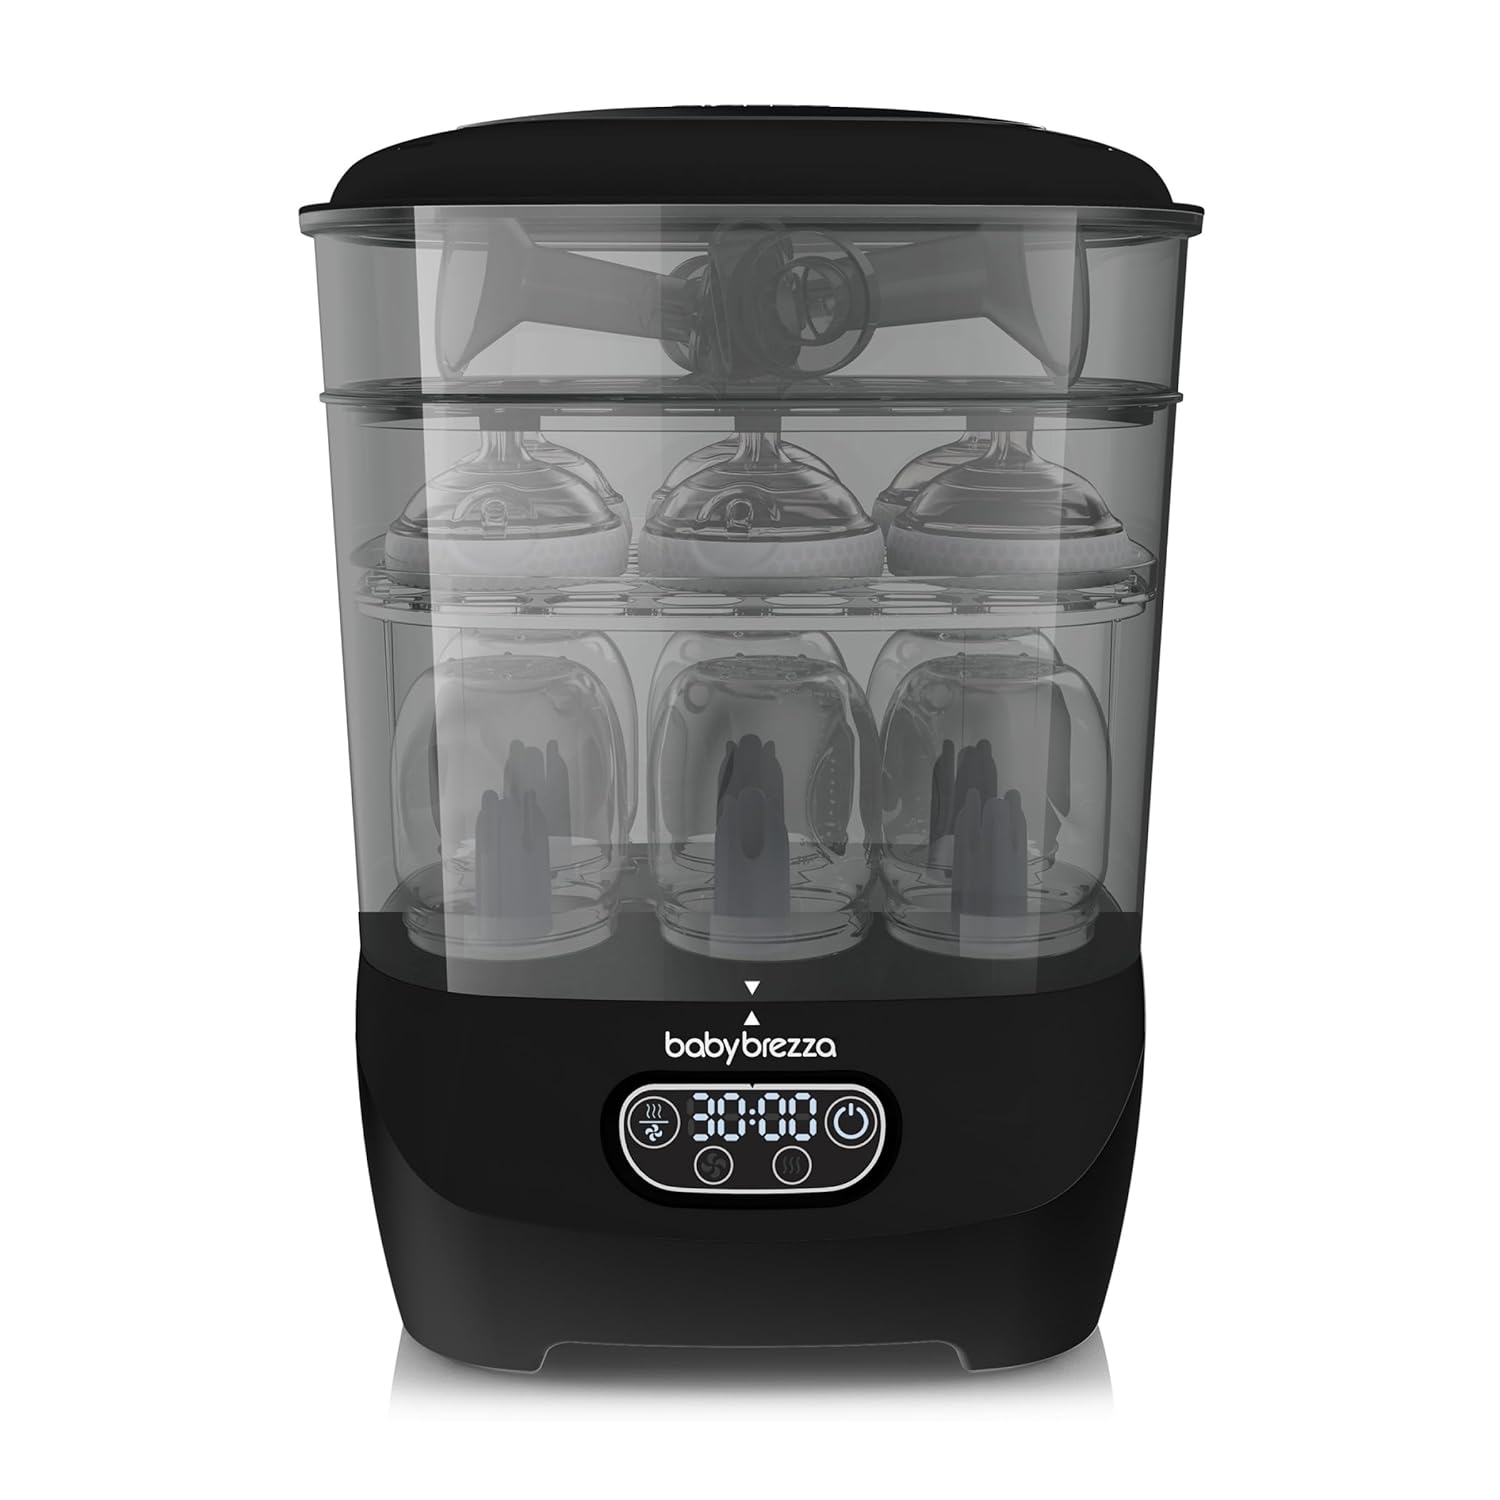
The first thing that stood out is how simple it is to take apart. There’s an accessory tray up top — I keep calling it the “candy tray” because that’s exactly what it looks like — and it even comes with little tongs so you can lift small parts out without touching them with your hands. That’s a nice touch when the whole point is keeping things sanitized.
The trays themselves slide out with zero fuss. The design is modular, so you’ve got a large lower bin, a shorter upper bin, and that accessory tray, and you can mix and match depending on what you’re sterilizing that day. Bottles, bottle tops, pump parts — there’s a logical spot for everything, and you can just stand items up on the racks.
How Much Actually Fits?
Baby Brezza rates this for eight bottles, and I believe it. In real use, I comfortably ran six bottles at once and still had plenty of room left over — and that was before adding pump parts and accessories to the upper tiers. Loaded all the way up with bottles plus a bunch of accessories, it never felt cramped. If you’re a household that washes and sterilizes in batches (which, with a newborn, you will be), the capacity here is the headline feature.
See more photos and current availability on Amazon →
How to Use It — and the Cycle Behavior Nobody Explains
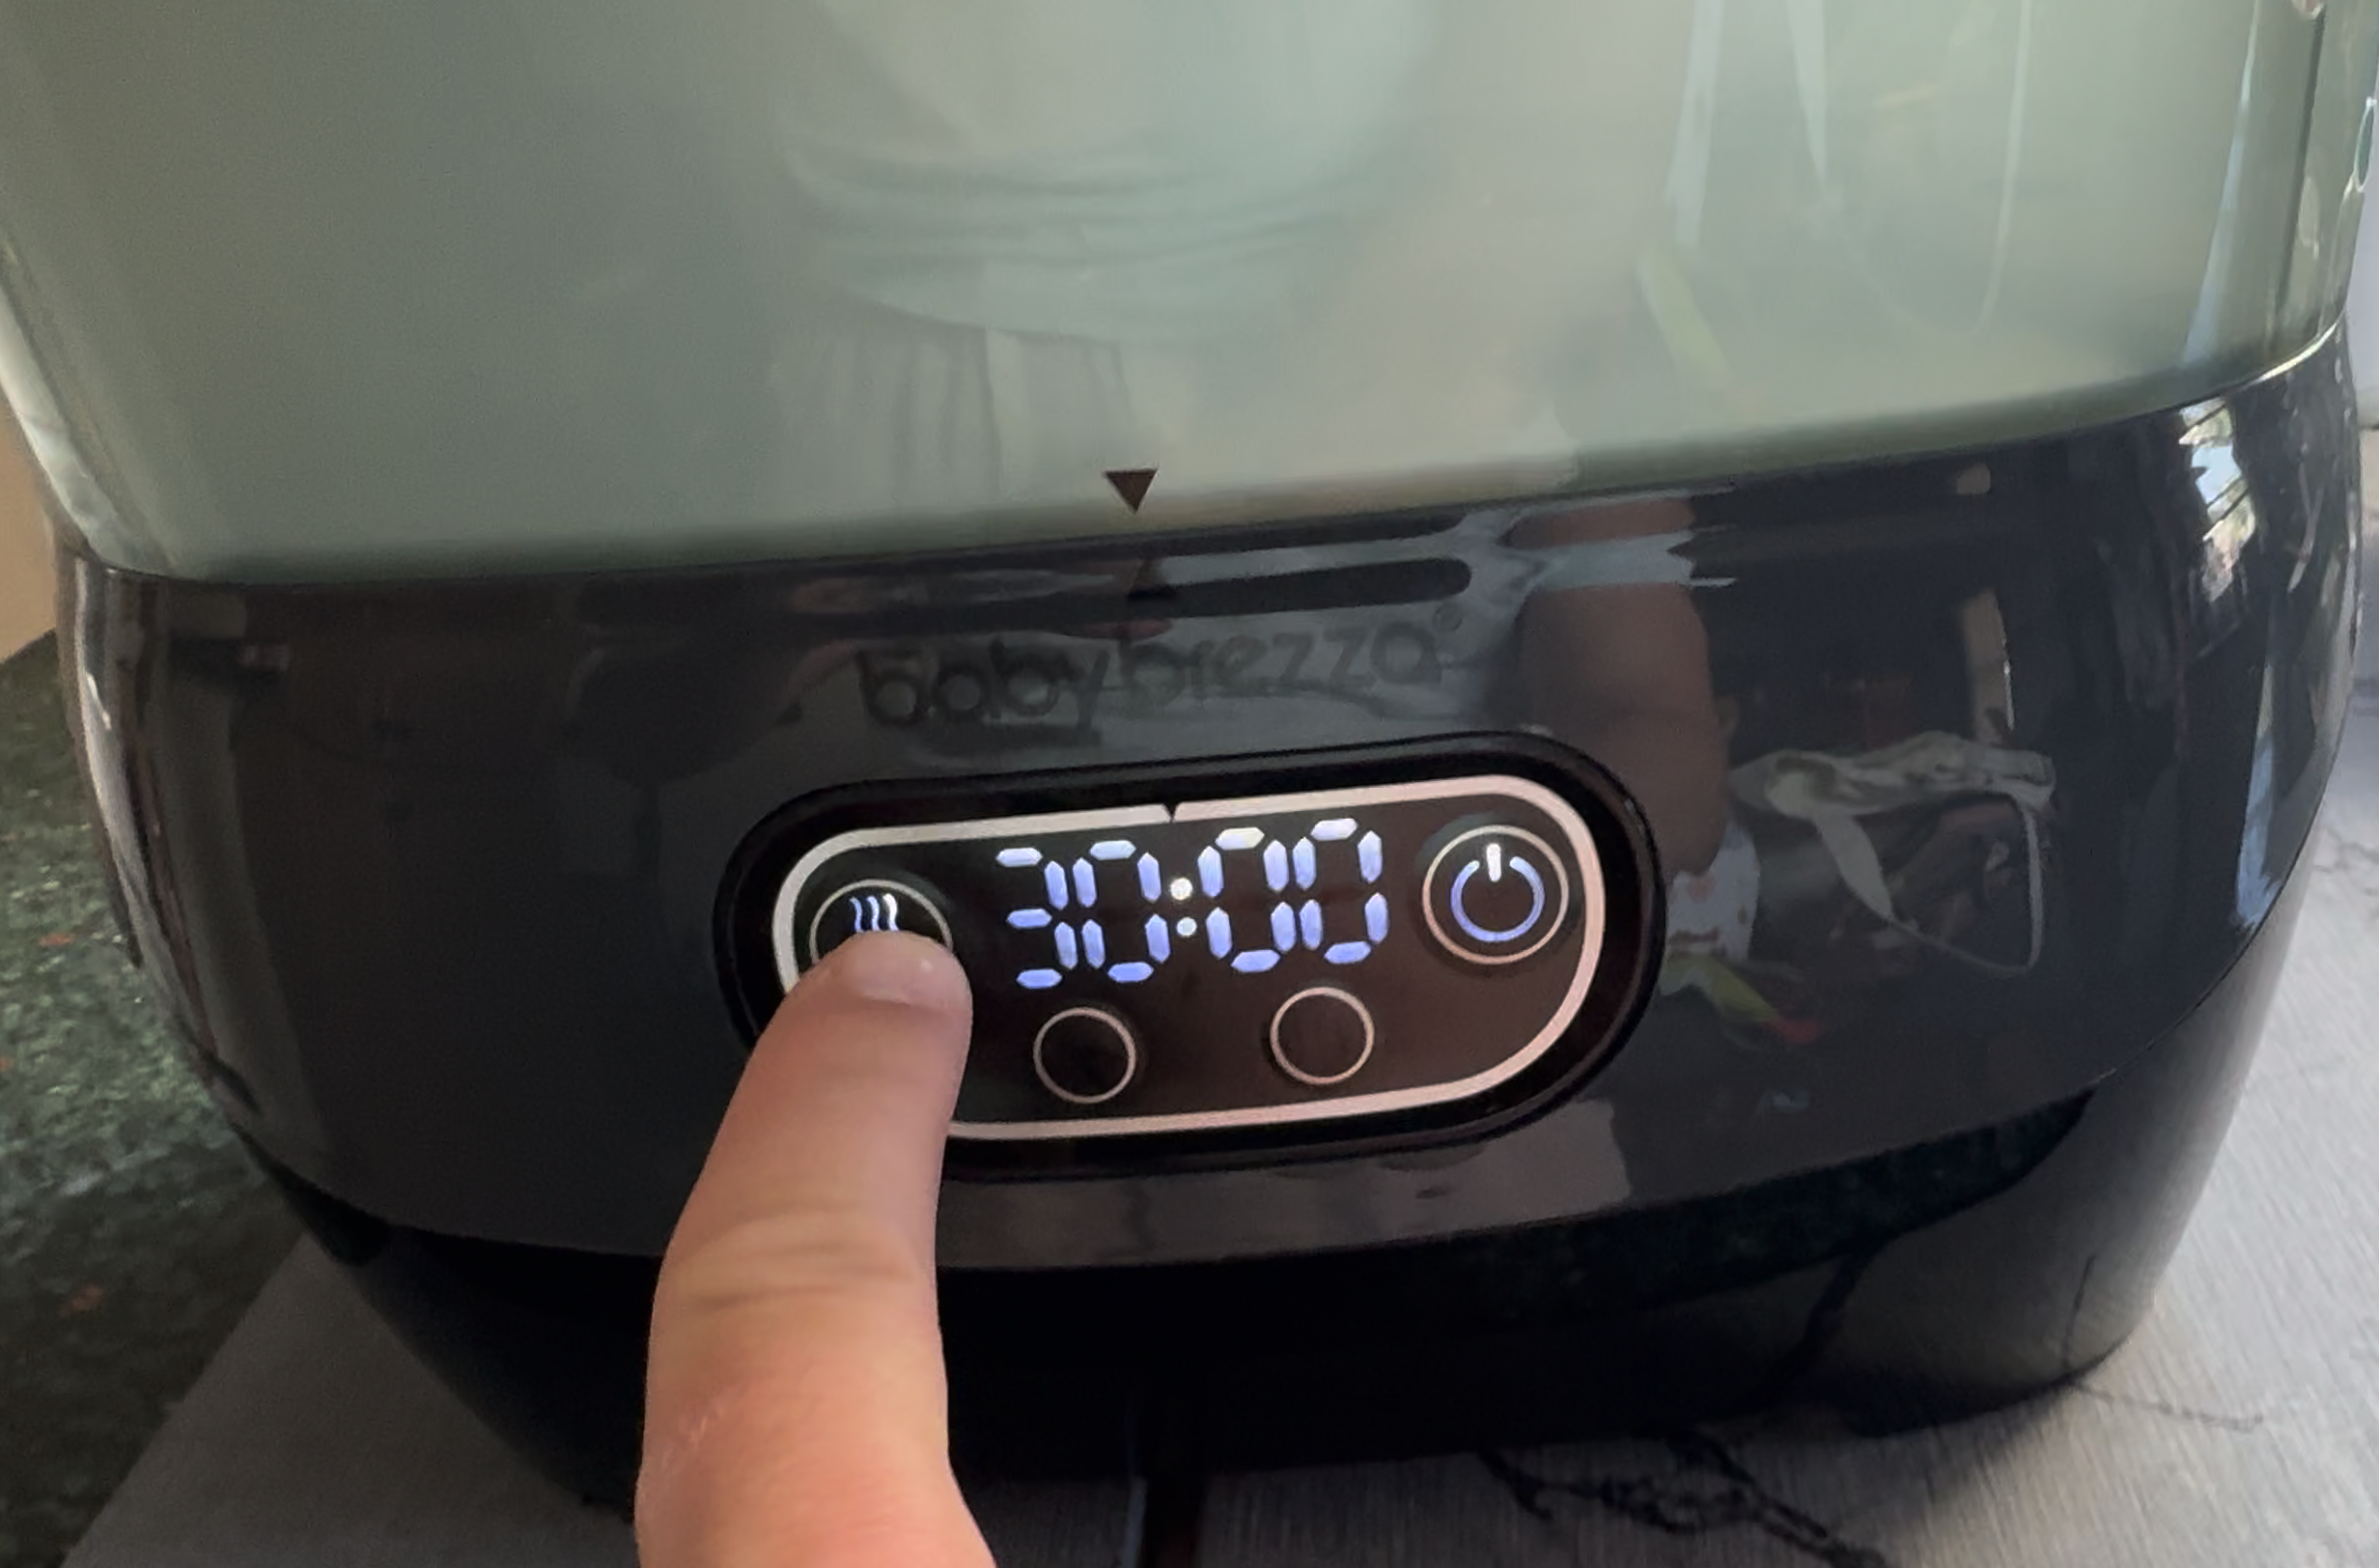
Operating it is dead simple. You turn it on and choose your function: run the heat (sterilize) cycle only, the dry cycle only, or both together. There are 30, 45, and 60-minute settings.
Here’s the part that surprised me and is worth understanding before you panic at the timer. On the combined cycle, the display first counts up — it climbed to around 15.5 minutes in my runs — and I’m fairly sure that’s the sterilizing phase, where it’s detecting when the water runs out. Once the water is gone, it flips and counts down from 30 as it moves into the drying phase. So if you see the number going the “wrong” direction at first, that’s normal. It’s not broken; it’s just steaming until the reservoir empties, then drying.
And the results speak for themselves: on the 30-minute setting — the shortest one — everything came out completely dry, even with the machine absolutely loaded with bottles and accessories. That’s the single most impressive thing about it. No towel-drying, no damp racks, no waiting around.
Do You Really Need Distilled Water?
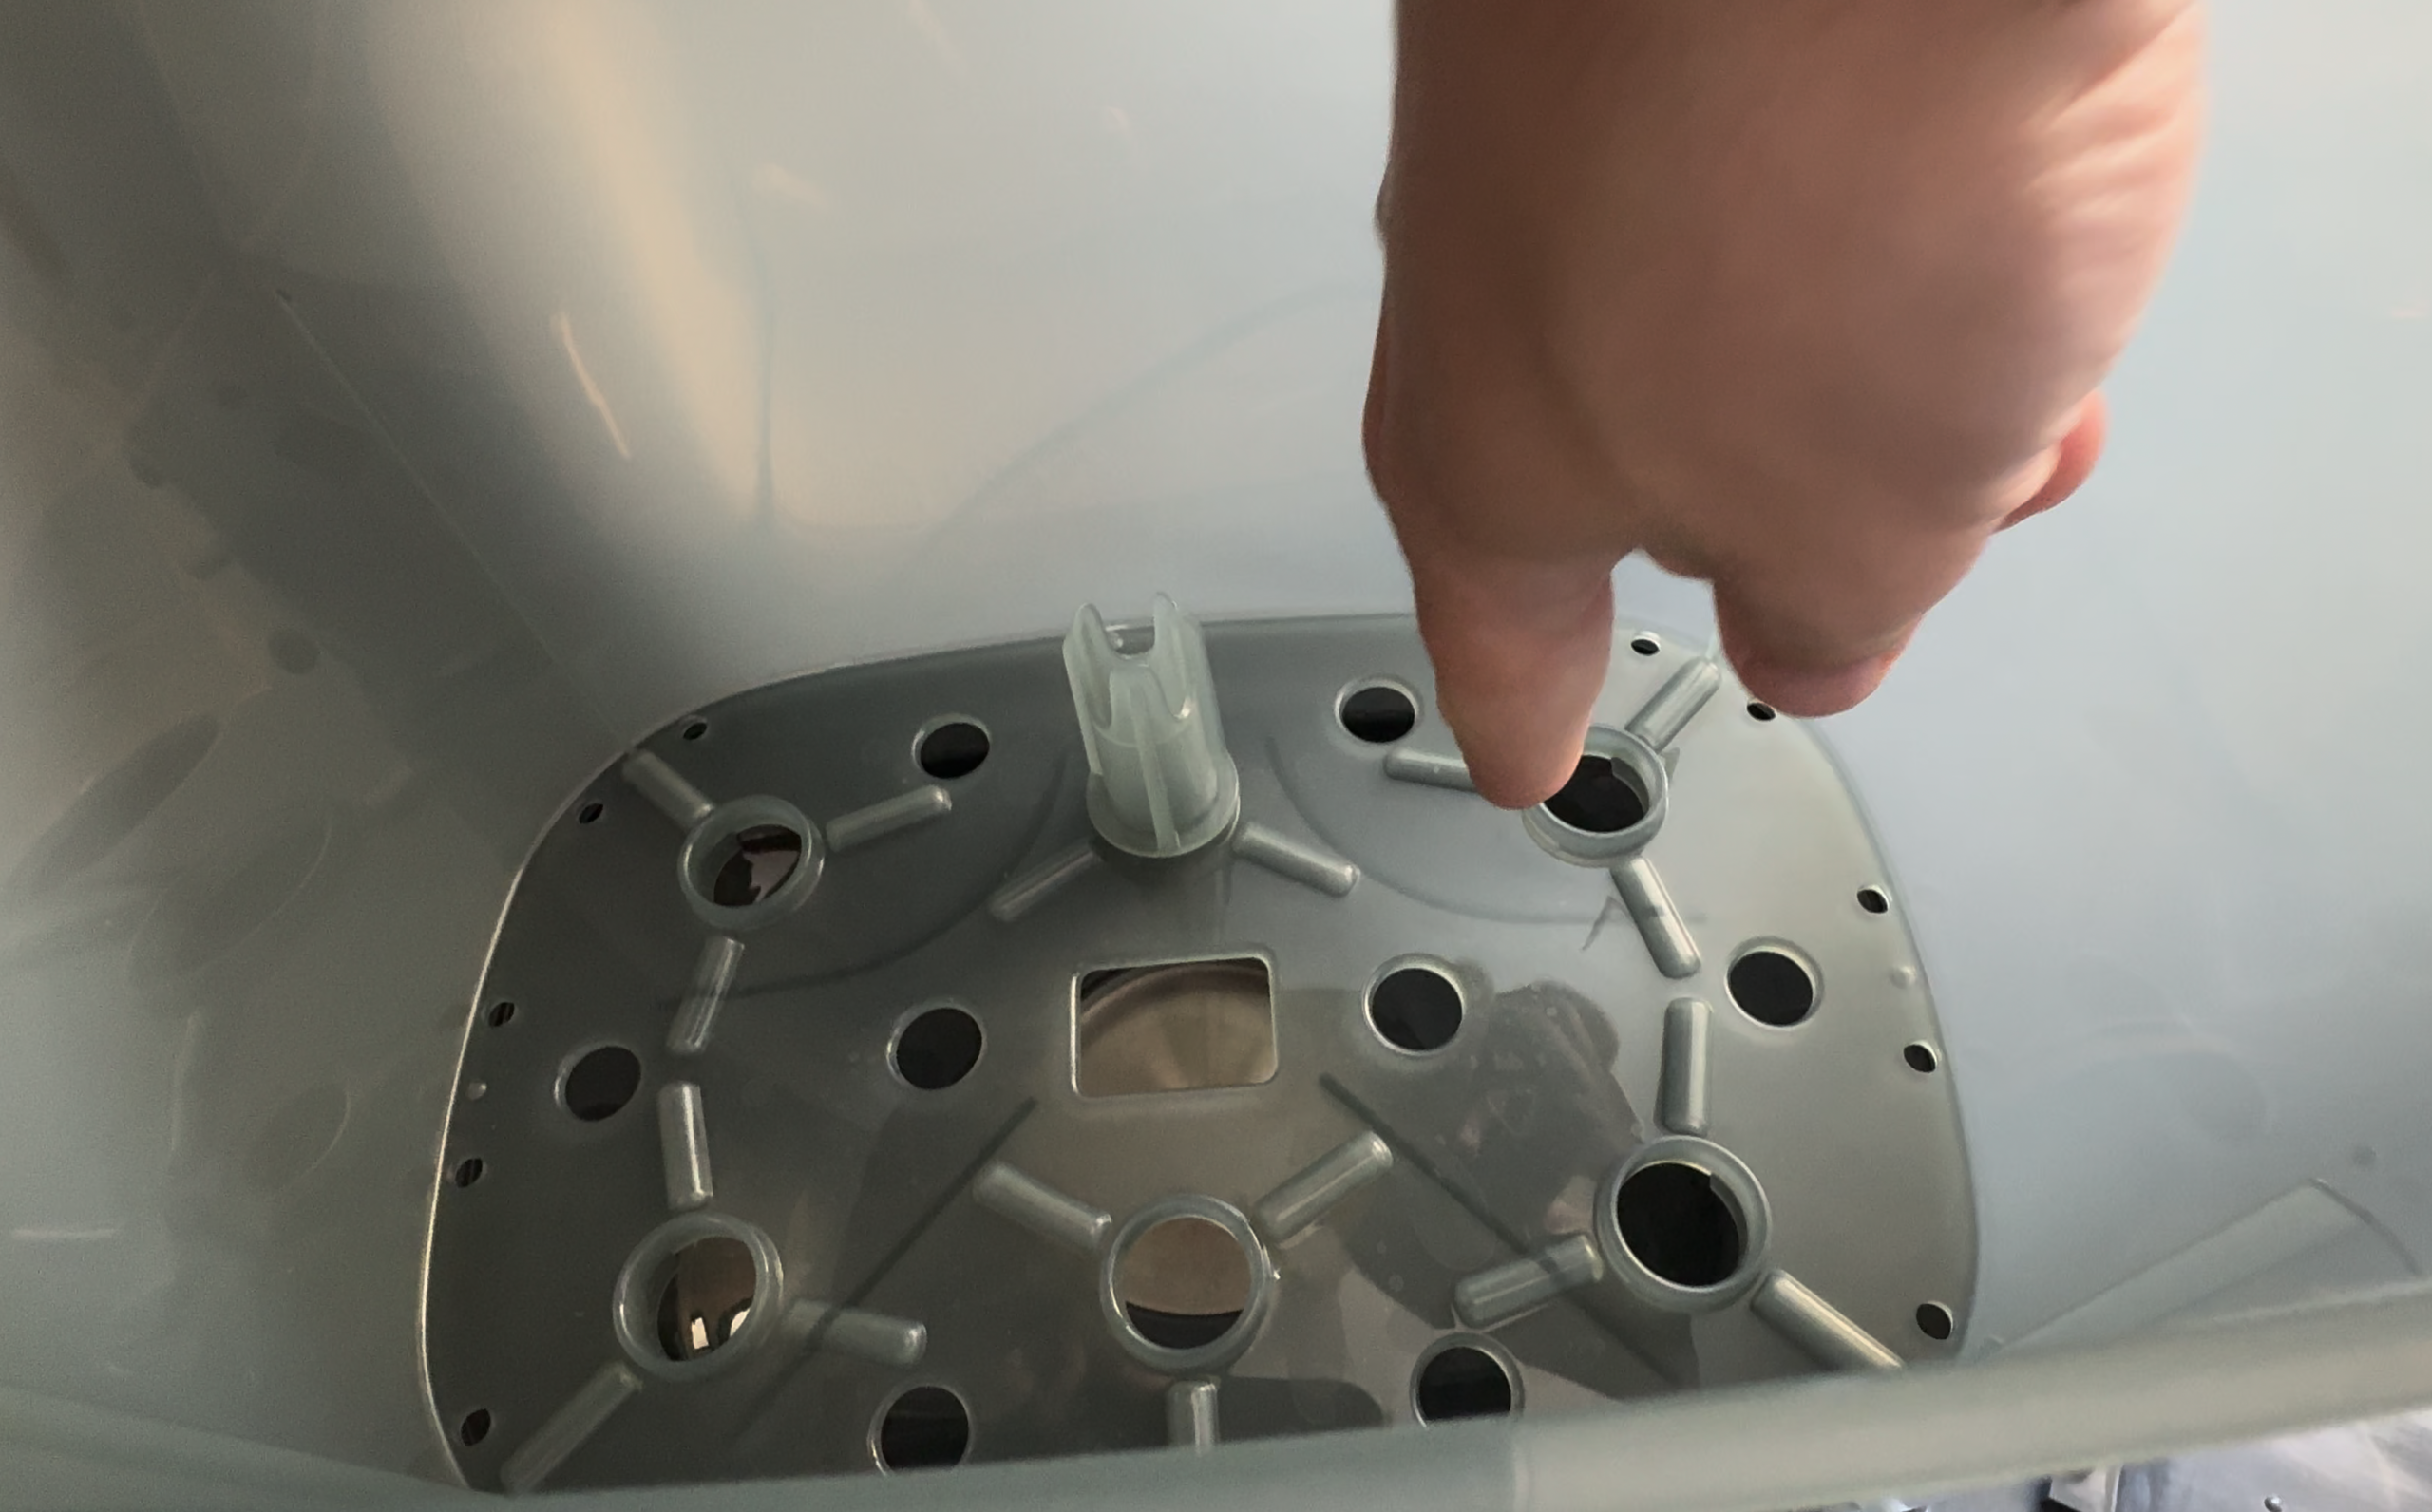
The manual tells you to use distilled water and to fill the included container to the max line. In my experience, the distilled-water recommendation really matters most if you live somewhere with hard water. We don’t, so I just fill it to the max line with regular tap water and it works perfectly. If your area has hard water, distilled (or regularly descaling the stainless heating plate) will help you avoid mineral buildup over time. If your water is soft, don’t stress about it.
Things to Watch Out For
Nothing here is a dealbreaker, but a few real-world notes will save you a headache:
- Line up the trays carefully. It’s a little easy to get the trays slightly misaligned. I actually had a run going with everything just a hair off until my wife noticed it needed a small adjustment. Take an extra two seconds to make sure everything seats properly before you start a cycle.
- Mind the steam vents and your cabinets. There are four holes in the top where steam escapes. If you’re running it on the counter like we are, make sure it sits far enough away from your cabinetry so the steam doesn’t damage your wood or finishes over time.
- Fill to the max line, not over. The reservoir has a clear max line — stick to it.
Who Is It For?
If you’re building a baby registry and trying to figure out whether a dedicated sterilizer-dryer earns its counter space, this is an easy yes. It’s especially worth it if you’re using a breast pump (it fits two full pump part sets), if you go through a lot of bottles between washes, or if you just want the “set it and forget it” convenience of pulling out clean, dry, sterile bottles whenever you need them — and not fighting with a germy drying rack.
Frequently Asked Questions
How long does the Baby Brezza Advanced take to sterilize and dry?
You can choose 30, 45, or 60-minute cycles. In my testing, the 30-minute setting fully sterilized and dried a packed load, so you usually don’t need the longer cycles unless you’ve got an especially heavy or dense load.
Why is the timer counting up instead of down?
That’s normal. On the combined cycle it counts up during the steaming/sterilizing phase (until the water reservoir empties, around the 15-minute mark in my runs), then switches to a countdown as it dries.
Do bottles come out dry, or do you still have to towel them off?
They come out completely dry. Even with the trays fully loaded on the shortest cycle, everything was dry — that’s the standout feature for me.
Can you use tap water?
The manual recommends distilled water, but in practice that’s mainly for hard-water areas to prevent mineral buildup. With soft water, I fill it to the max line with tap water and it works great.
How many bottles does it really hold?
It’s rated for 8 bottles plus 2 full pump part sets. I ran 6 bottles with tons of room to spare, so the capacity claims are realistic, not optimistic.
Is it easy to take apart and clean?
Very. The trays slide out easily, the design is modular, and it even includes tongs so you can remove small parts without touching them.
Final Verdict
The Baby Brezza Bottle Sterilizer and Dryer Advanced does exactly what you want it to do, with a huge capacity and genuinely dry results on the fastest setting. The only things to remember are seating the trays correctly and giving the steam vents some clearance from your cabinets. For expecting parents — especially anyone pumping — it’s a registry-worthy buy that you’ll use every single day.